
After the initial rough journey through the trial of blades, my first box is finally ready to cover with pretty pretty papers. This is the FUN part! *squee*
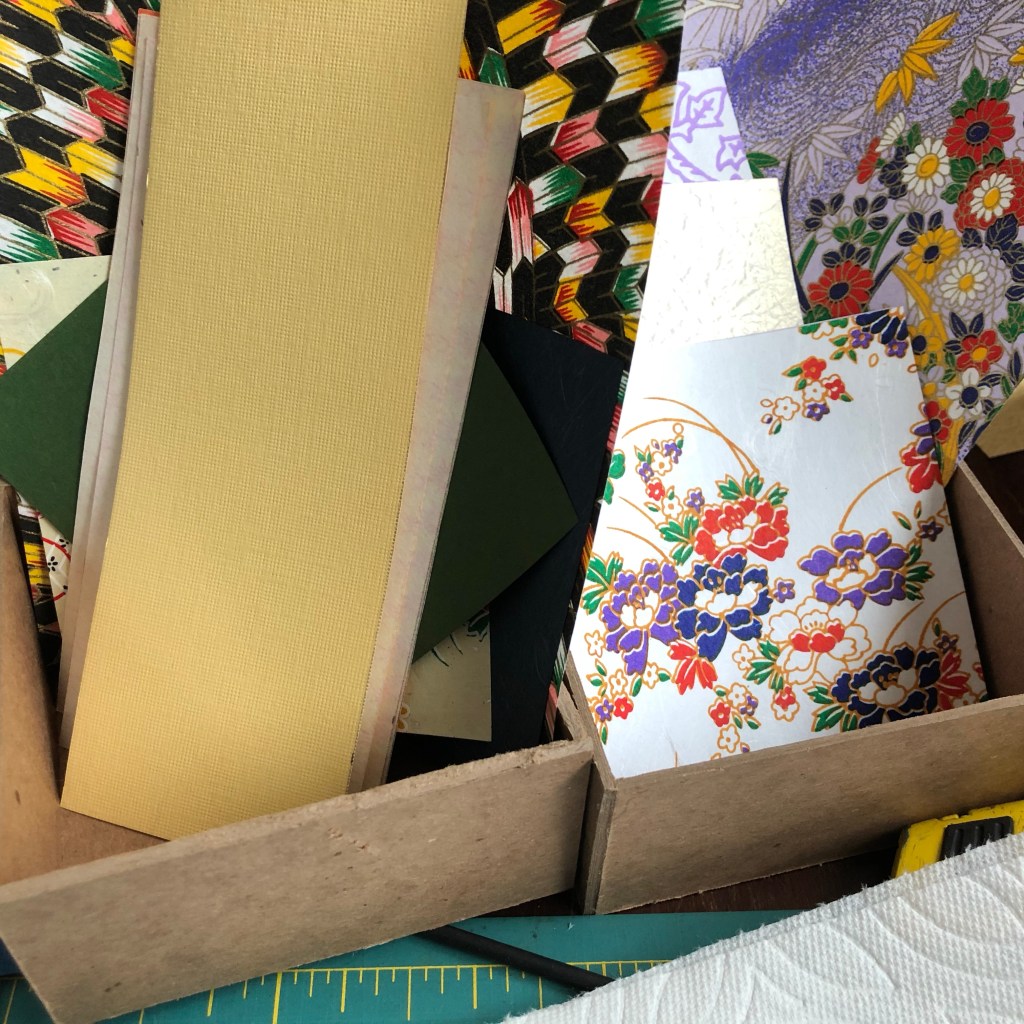
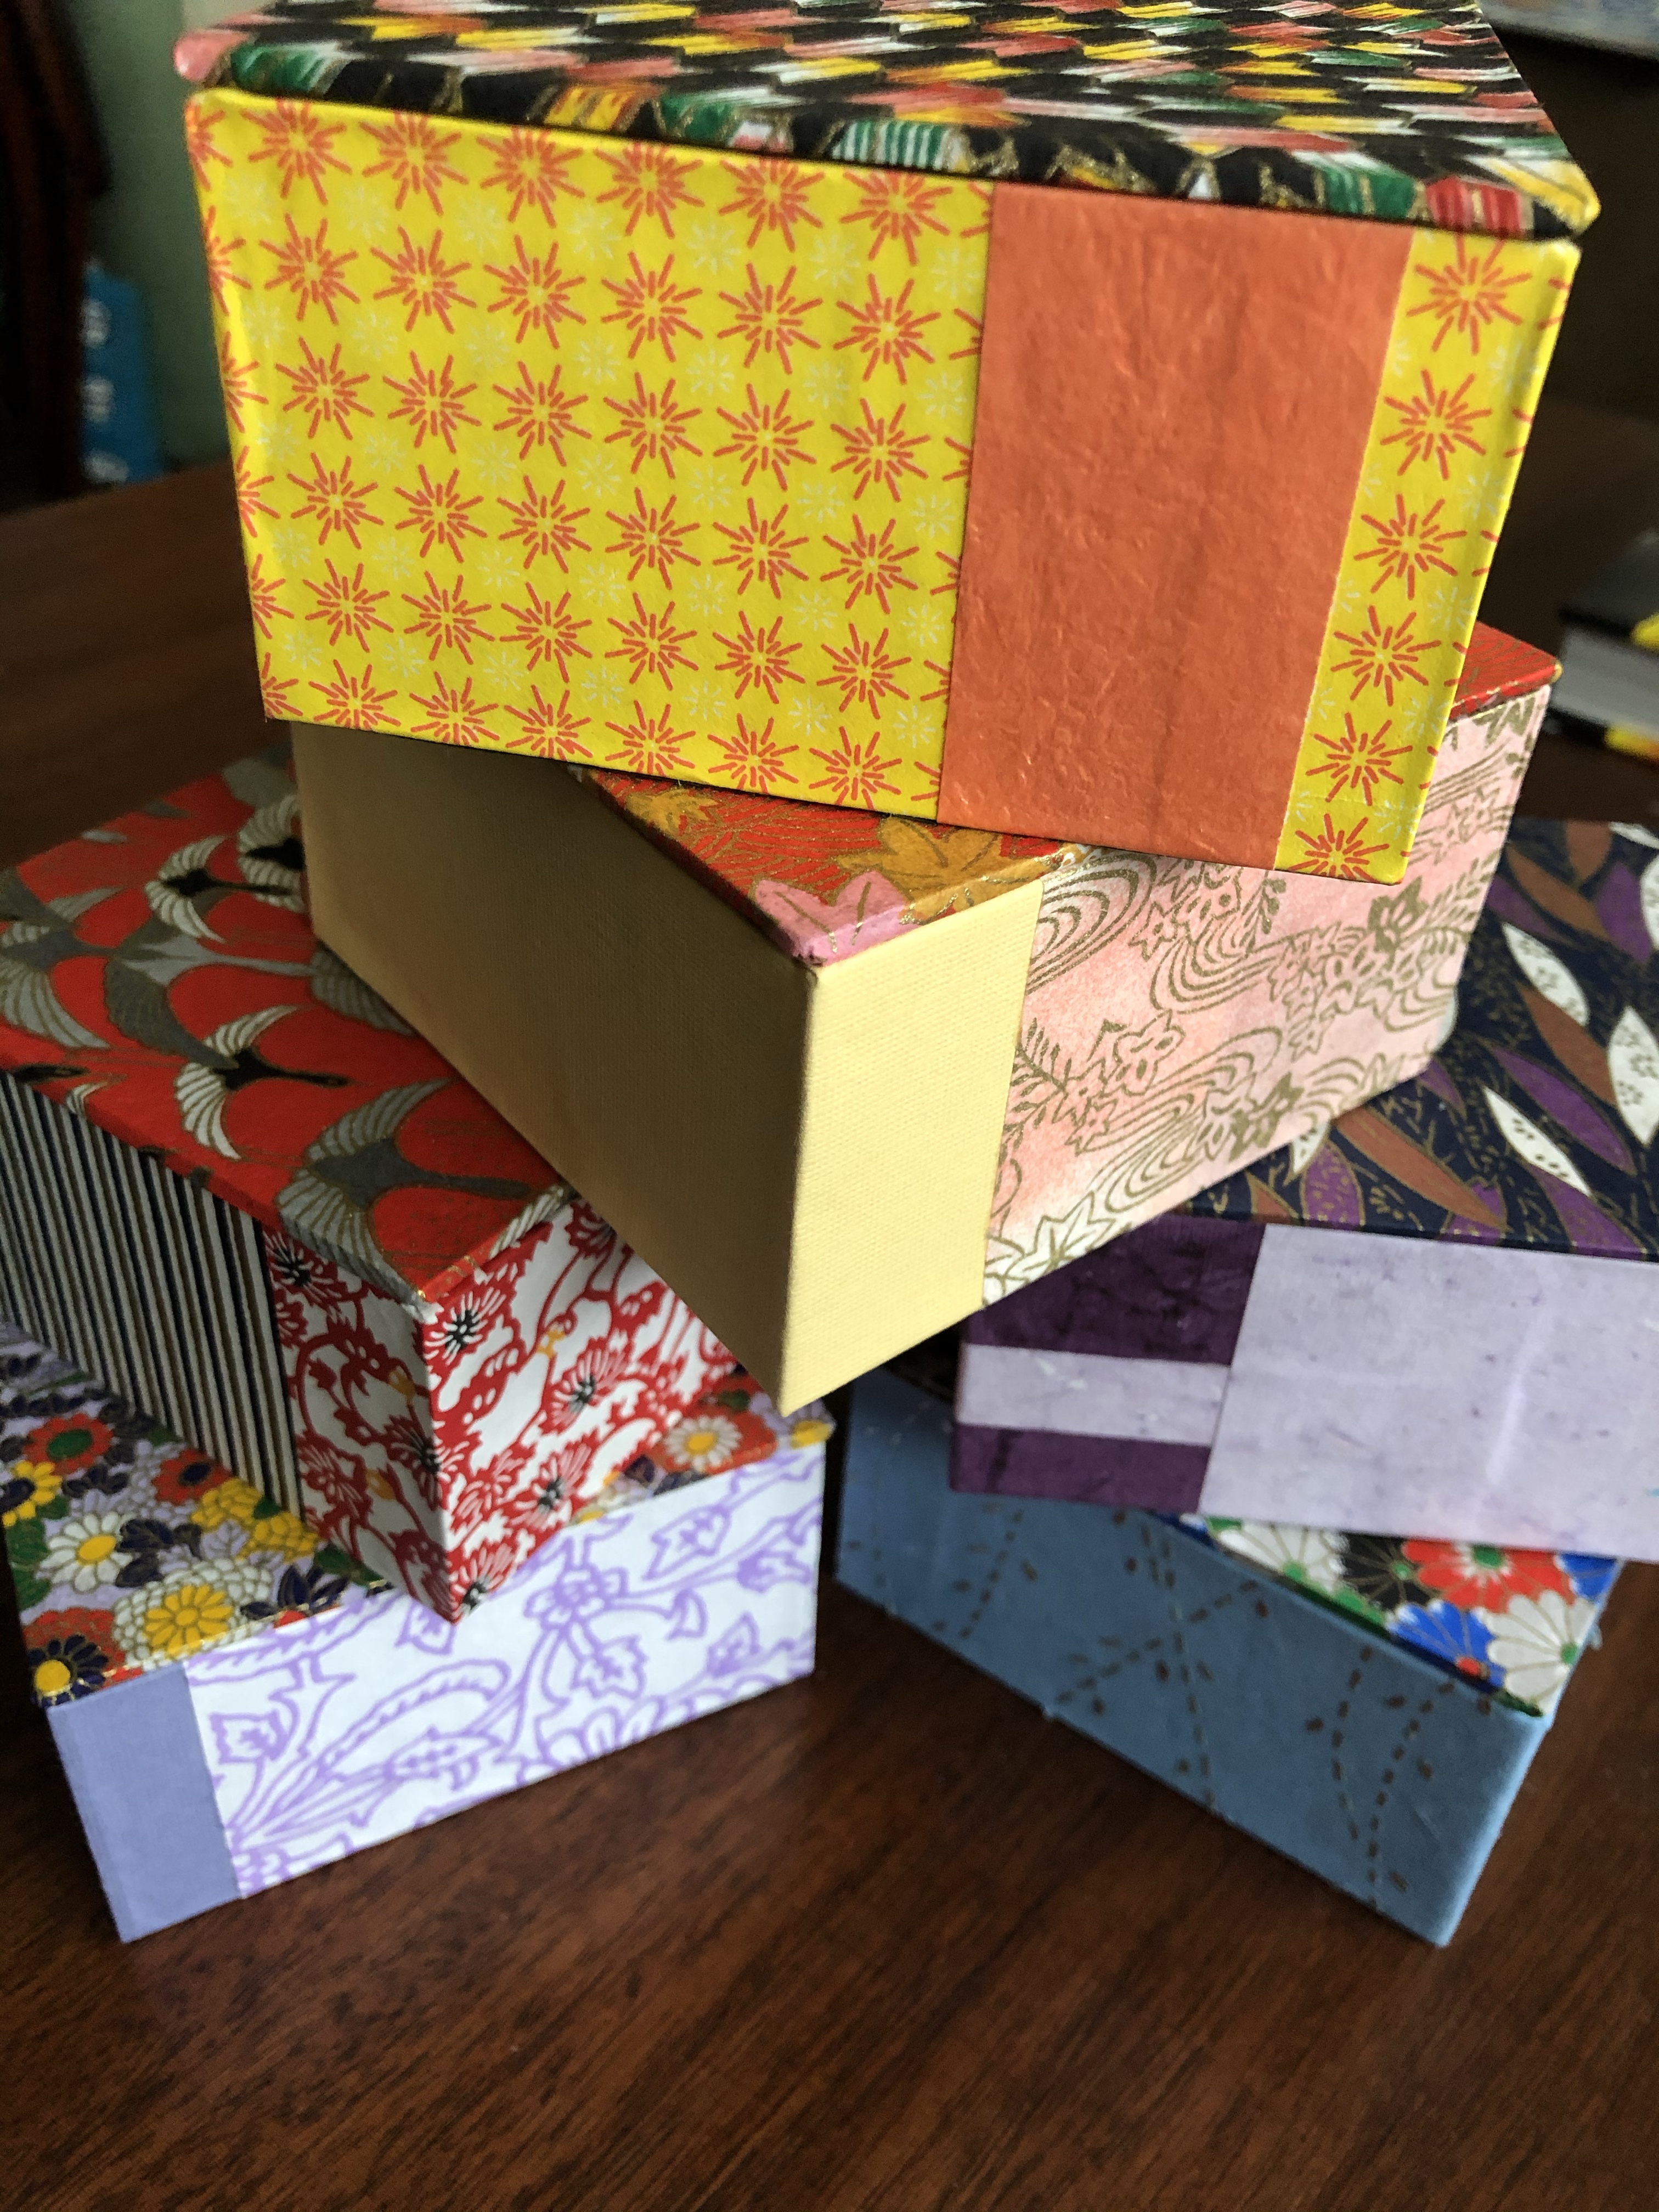
My paper stash is not large, but it is …long-standing. A large portion of it is made up of papers intended for origami, with a few other odds and ends. Every time I go through a craft supply purge, this little stash always seem to escape whole and unscathed. They were waiting, you see. Waiting for the perfect project to present itself, like these delightful little boxes!
Most of my origami papers are chiyogami style, with dense, intricate patterns and bold colors. I also held onto some textured papers in purples and blues and a pack of small sheets in solid colors. So many choices! So many options! I could have spent all my time just mixing and matching paper, but I needed to get these boxes done sometime this millennia and they weren’t going to paper themselves.

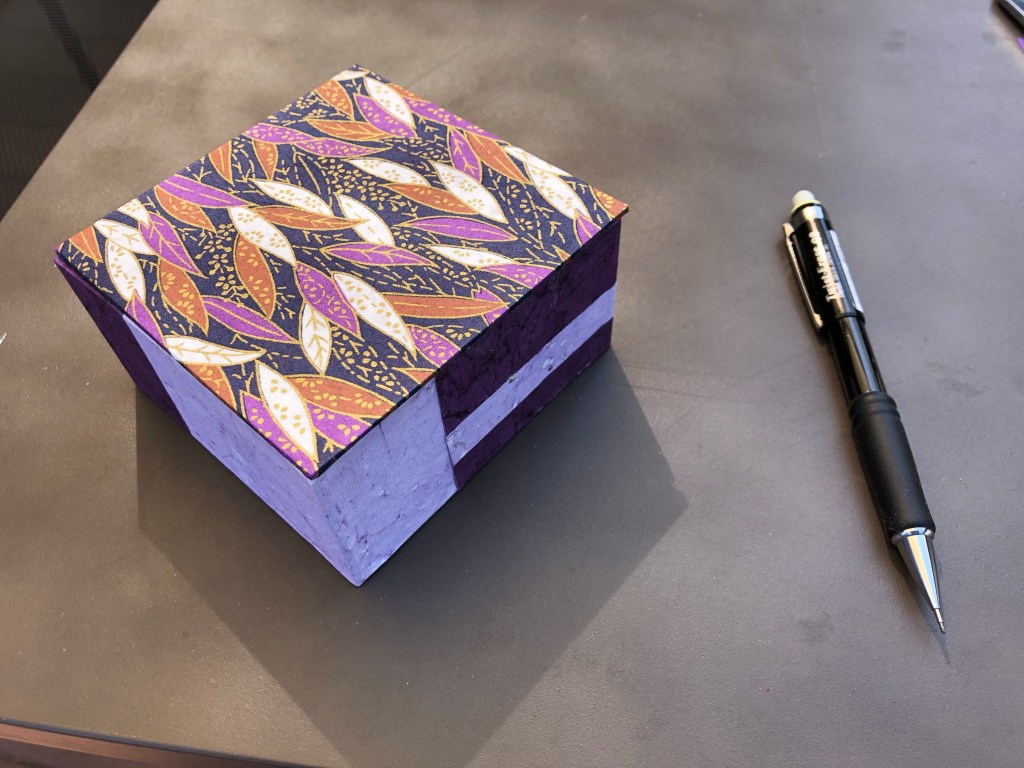
For this first box, I decide on a purple and russet pattern reminiscent of leaves for the lid cover. With this pattern as my centerpiece, I choose complementary papers for the rest: a pale purple sheet with a simple pattern for the underside of the lid; a combination of purple shades, textures, and patterns for the outside; textured gold and purple for the inside; a plain mauve sheet to finish the bottom. Not only was I happy with the resulting combination, but using one sheet as my “inspiration” for the whole box helped me focus. Double win!
Now that the fun-but-easy part was done, it was time to do the fun-but-meticulous part: papering the box. For the lid pieces, I lucked out – the papers I chose were essentially the exact dimensions I needed, so they just glued down with neat, mitered corners. The box walls were another story. The papers needed to be cut an inch large for the outside, to ensure coverage over the top and bottom of the walls. The inside had to be cut an extra half inch so that they would extend over the wall seams, but not so tall as to spill over the top edge. Luckily, I had most of these particulars spelled out for me in Books, Boxes, and Wraps with only minor edits needed. Even this geometry-nerd mama gets a bit tired of having to reinvent the wheel.
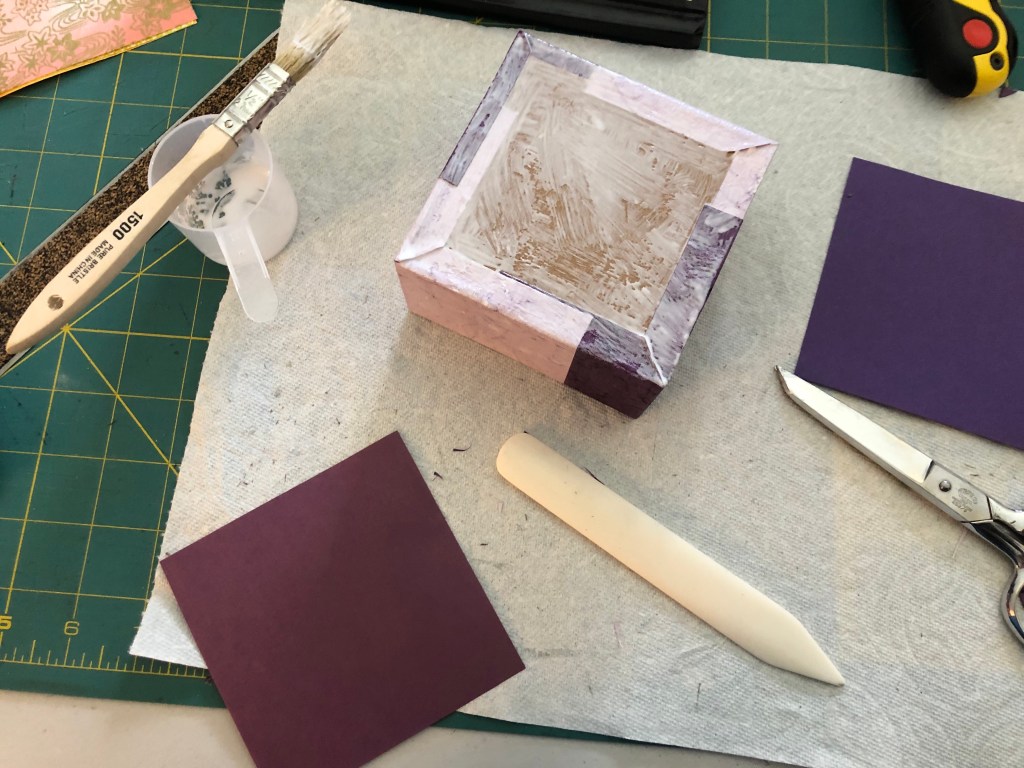
I glue the lid pieces and set them aside under weight to dry. As I glue the papers to the outside wall, the dimensions of the sheets mean that I have to make some choices around layout. This can be frustrating; often I want the papers to fit a certain way when I initially choose them. In a rare moment of optimism, I choose to embrace the boundary and pivot with a slightly different design. Don’t worry, anxiety, I’m not forgetting about you! I assure you, there is plenty of time-wasting mental flailing in our future, just not right now. *pats anxiety*
Et voila, it’s a …box!
Once I finish the first box, I check in with my friend-client – she is a big fan! Huzzah! Onto the next boxes I go, now in full assembly-line-mode. I only swear a little cutting down binder’s board this time (done after the kids are in bed for this reason). Then it’s time to choose the papers, yay! Once they are assembled by box, it’s the papers’ turn to be marked and cut down, a thankfully simpler and more enjoyable process than boards.
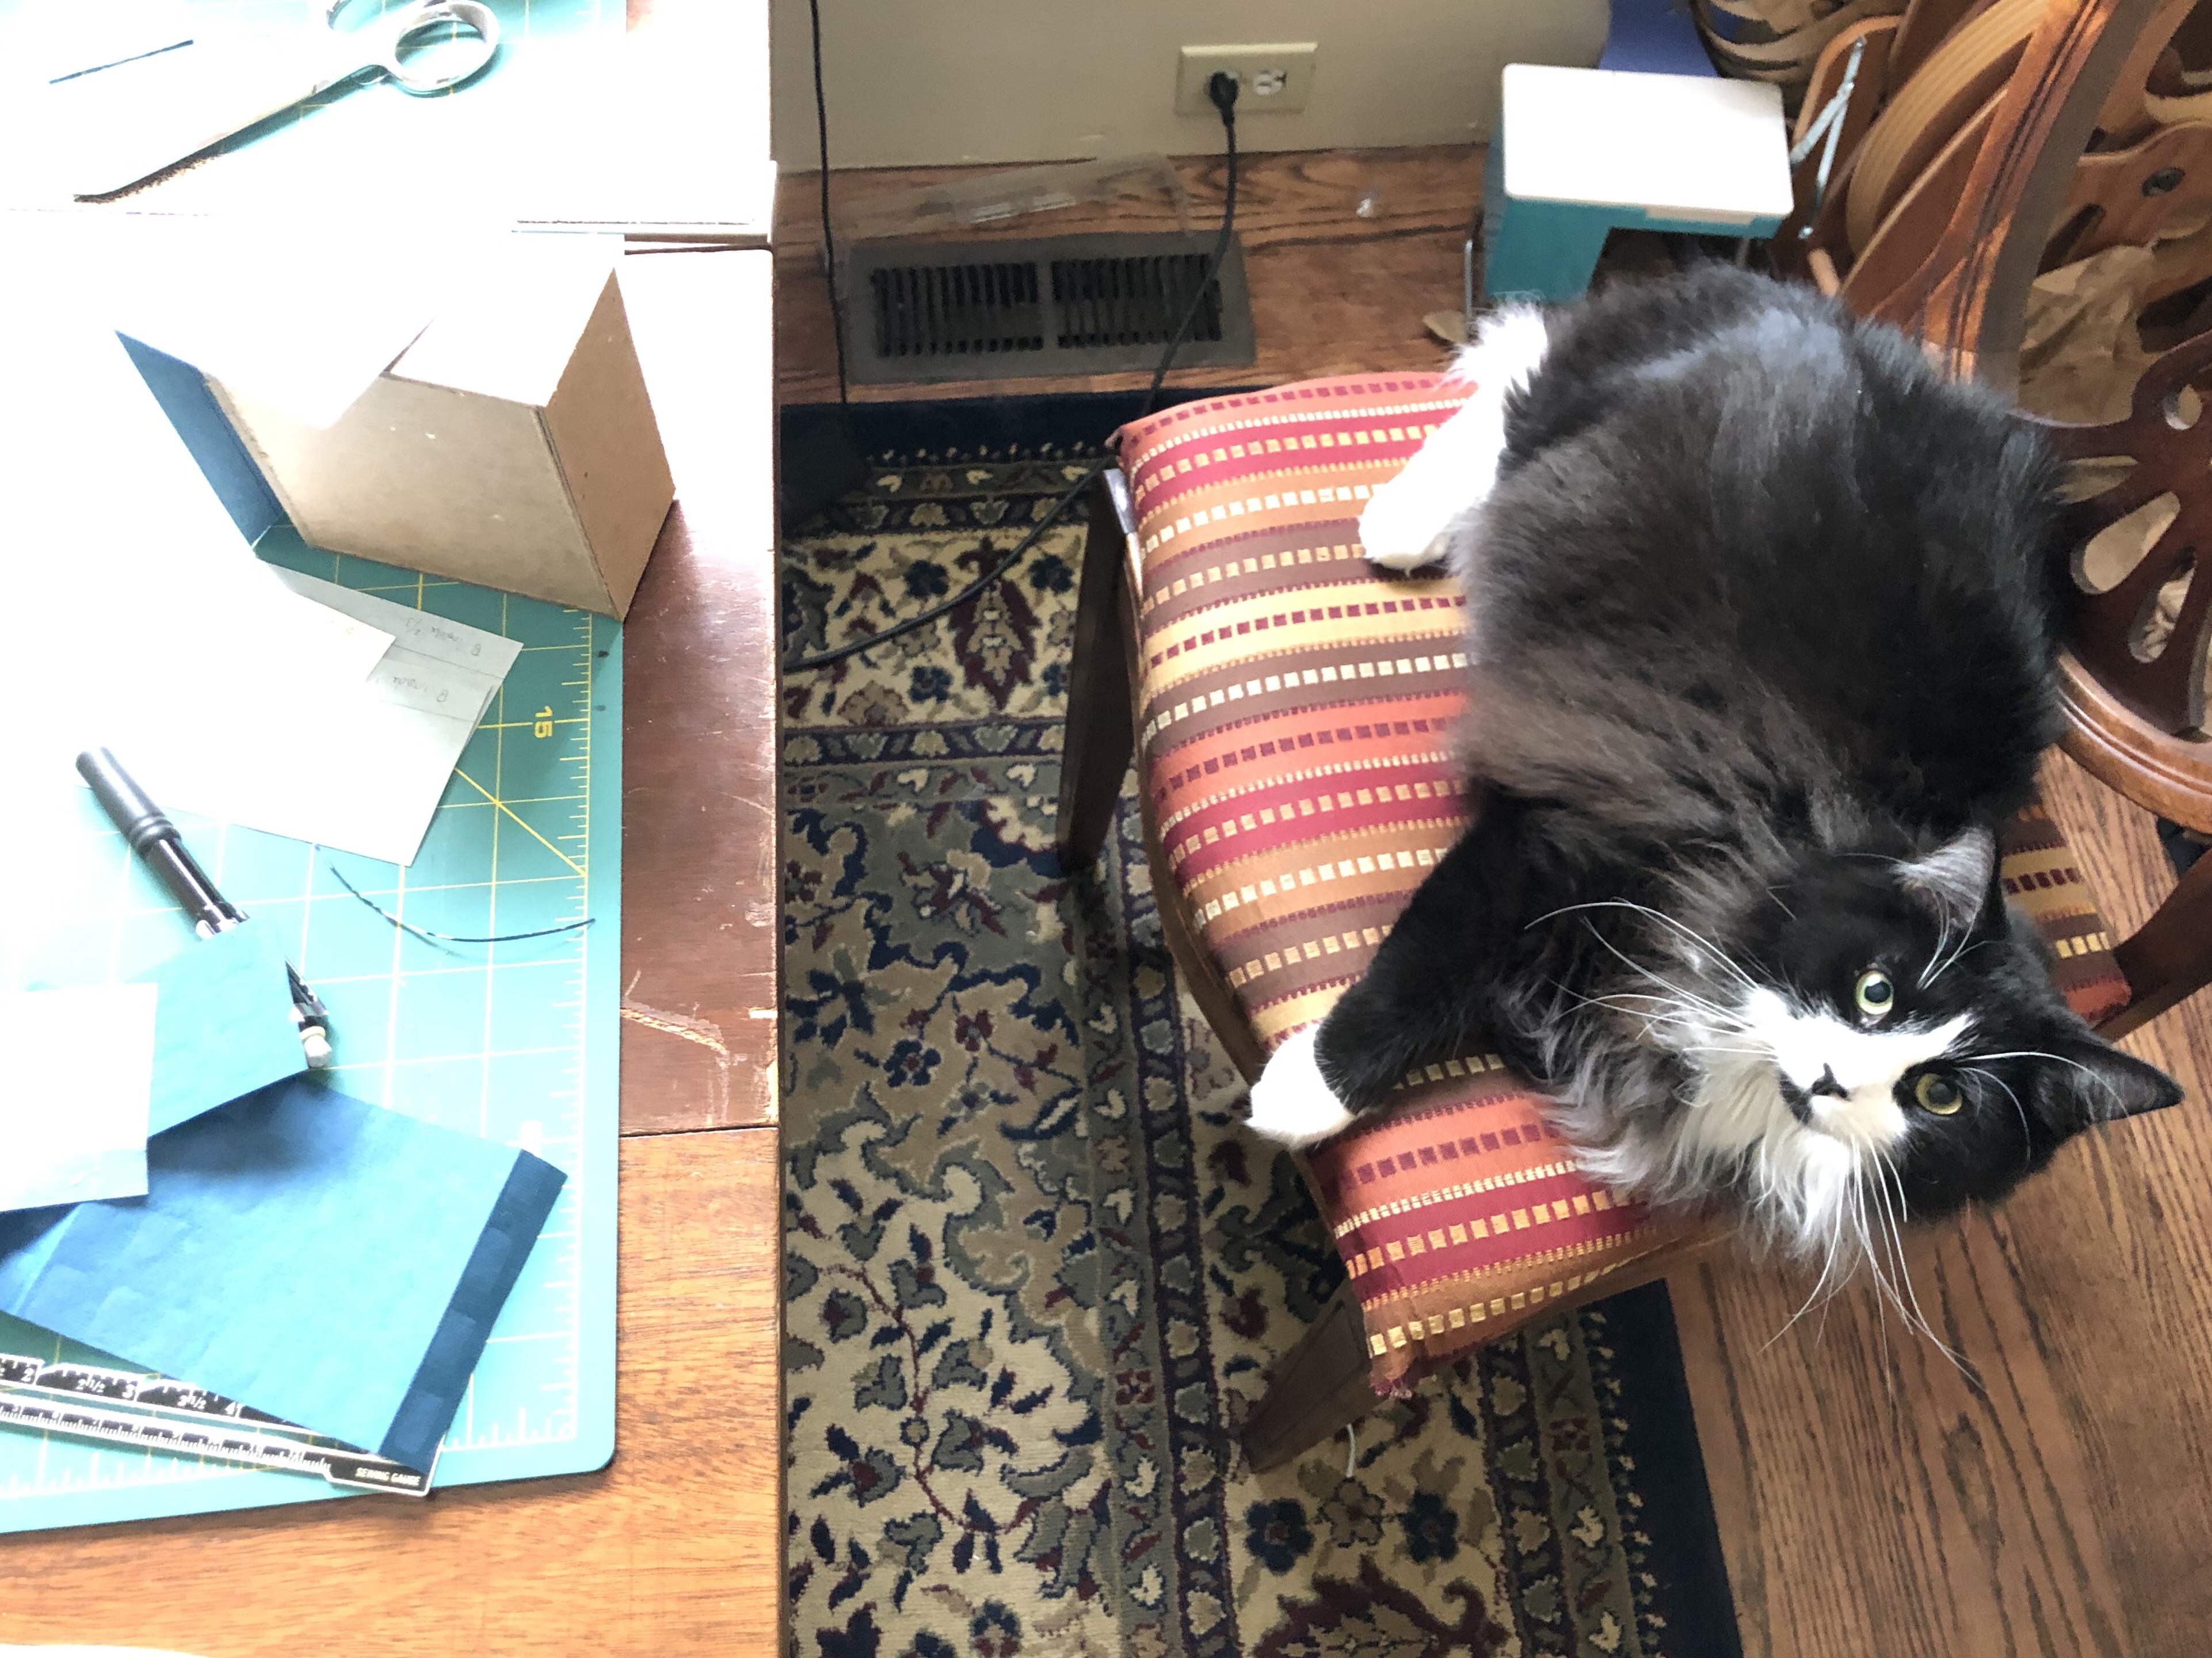
Most of this work was done in the relative safety of my attic-workshop, where I only have to fend off marauding bands of kittens. However, the papering of the remaining boxes needed to be done at my dining room table because I have these children that need parenting on occasion. Pesky children needing their mother, pfft. I barricade my workstation with a motley crew of books, chairs, and kid detritus to protect against toddler incursions, and get to work. When called away to broker a peace treaty between the Sister Princess-apality and the Little Brother Duchy, an invader breaks through my shoddy defenses and lays claim to my seat!
After evicting the interloper and my partner taking over peace negotiations, I make a mad dash to finish the last of boxes. Papers were flying. X-acto knives were slicing. It was beautiful, beautiful chaos. And at last, the boxes were assembled, papered, and the LIDS FIT! I actually do know what I’m doing – the knowledge is there after all!
*happy tears*

One thought on “Contemplating Outsides of Boxes”