
(Please read the beginning of this walkthrough/tutorial here)
We get to work immediately, starting with tracing out each pattern piece onto new paper. I insist on this step because we may need to refer to the originals should I make a mistake. I don’t like making mistakes, but I also know that I can’t avoid it. I like to have at least one backup; preferably five, or maybe fifty, but alas.
The fitting of the muslins is where things start to go off schedule. My friend is not far from me distance-wise, but our schedules are both a little zany and meeting up in person to do fittings in-person is a must. The bodice is the most tedious (no surprise, but I knew that going in) because of how much “editing” I need to do.
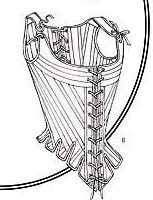
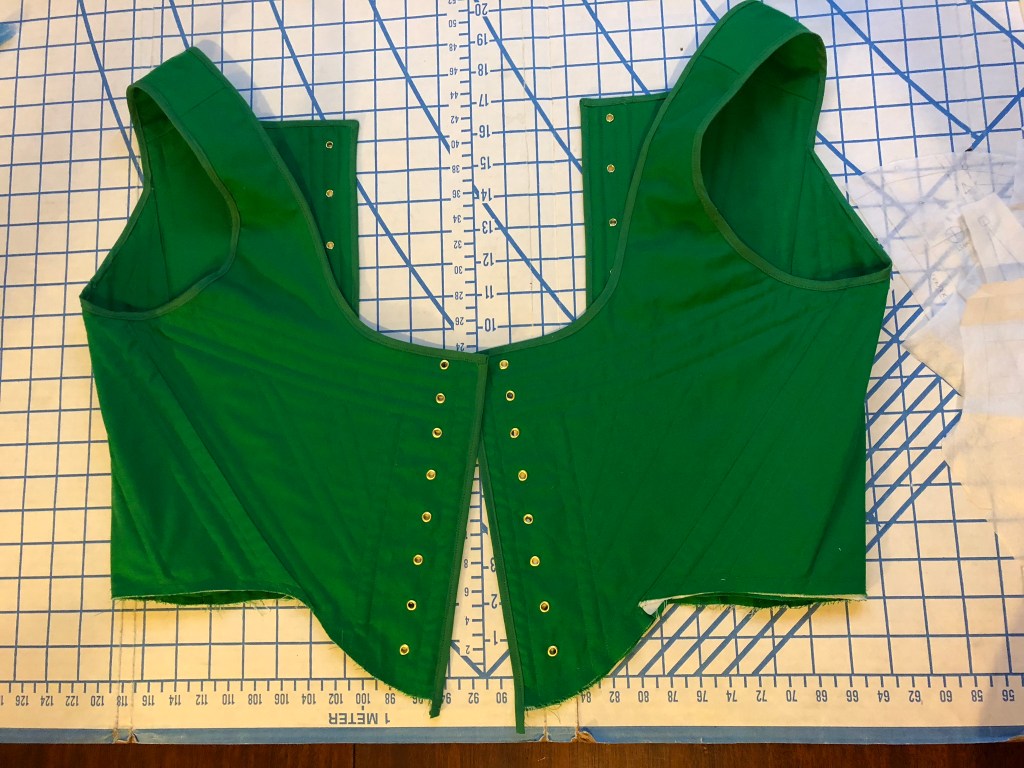
The original pattern for the bodice has peplums (the little flaps at the waist), which we nixed thus requiring a new waistline to be drawn. Next was the shape of the corset itself: a tube, but a V-shaped tube to accommodate a woman’s bust. A muslin fitting showed what I expected: the shape at the top of the V would need to be brought in. Not too much (my friend being very athletic) but enough that some of the boning channels will need to be rerouted. I take in the excess at the side seams because I don’t want to mess with the alignment of the lacing at the back, but that means I have to also redraw the armscye. If I don’t, my friend will have to hold his arms up like a scarecrow to keep the bodice from poking him in the armpits.
After two more fittings, I finally get the muslin to a place where I feel like we can embark on fashion fabric and do minor fitting safely. However, the cloak has gotten almost zero love. We are now running past the deadline to start ALL patterns in fashion fabrics, so I begin cutting out cloak pieces without much fitting besides marking the hem. *biting nails*
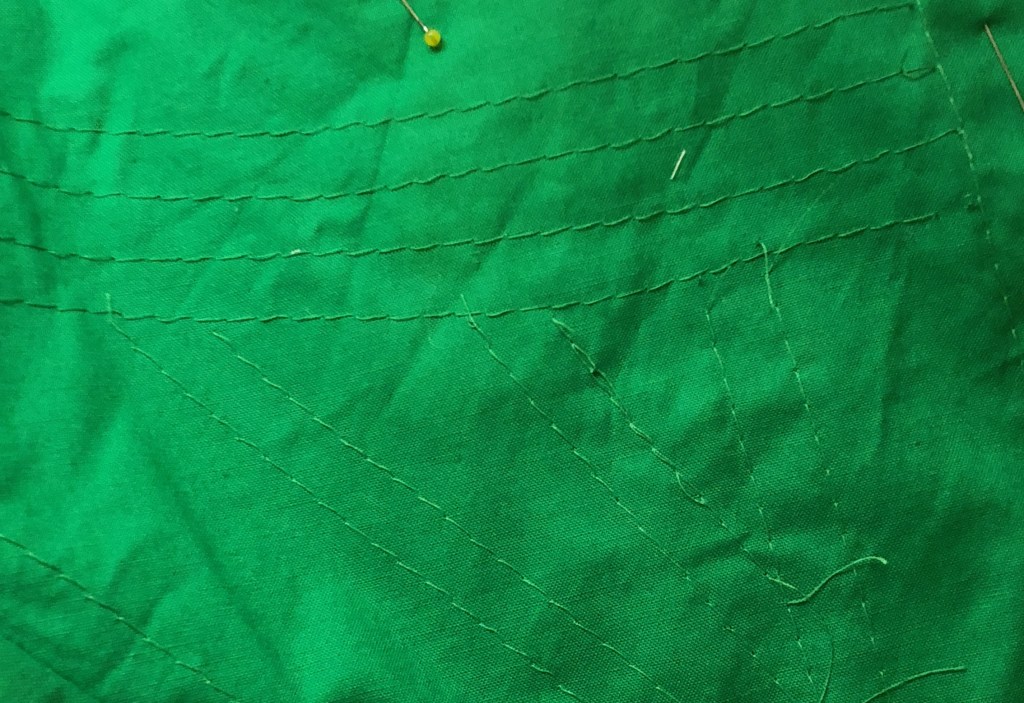
My friend has another biz trip for a week, so I get to sewing all the bodice pieces together using my muslin as the interfacing because I’m efficient. From prior experience, I do NOT purchase the steel boning for the bodice ahead of time but instead complete as many channels as I can and mark the rest (there are some channels that will be sewn shut by others) and take the whole kit and kaboodle to the store. I physically match the boning to each channel and purchase exactly what I need.
*muahaha* I crack myself up.
The rest of assembly goes more or less well and according to plan – I argue with the bodice pattern instructions about the use of quarter-inch bias tape (whyyyyyyy so smallllll) and generally swear at the cloak’s velour for changing shape when I’m not looking. My friend and I meet during the week before our deadline to get some last measurements and luckily nothing is too far off. Hey, it turns out the seat of my pants can fly pretty well!
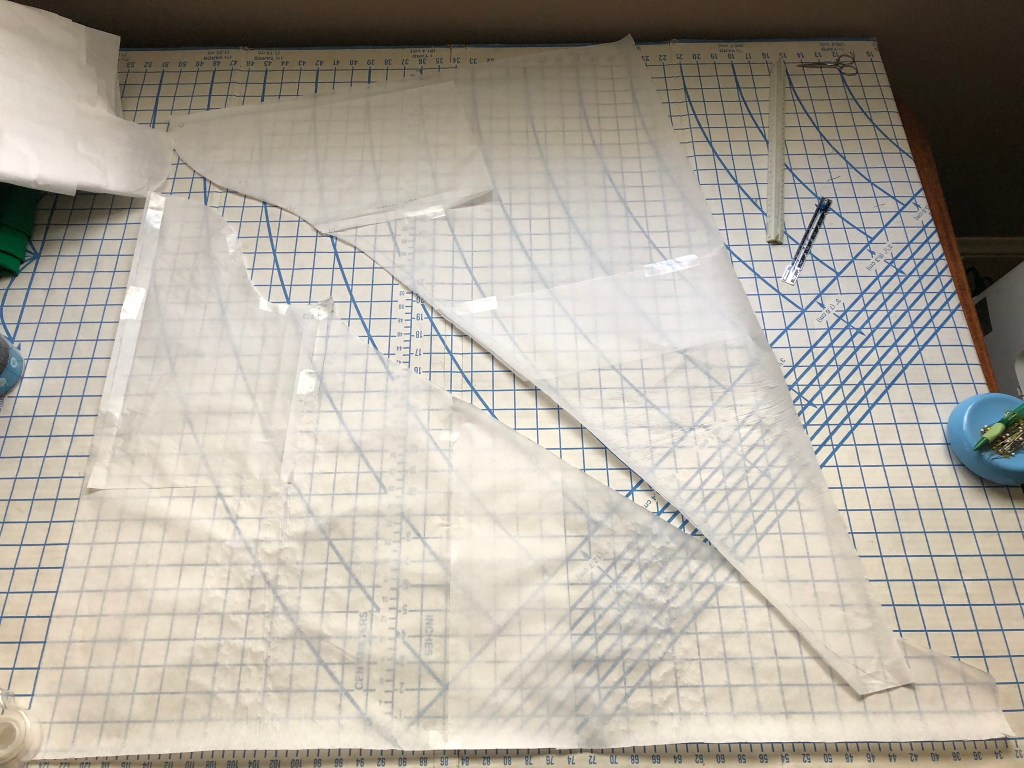
But we still have those DARNED SLEEVES. *cries* I have to completely reshape the pattern due to the original seams being in the wrong place. *shakes fist at sleeve pattern* I spend Saturday fiddling with paper and wispy patterns, finally bending the sleeve to my will:
- I sketch the outline of the entire sleeve head (the shoulder part) as if it were assembled and then cut that shape in half to mimic the sleeve seam I do want.
- Taking my friend’s shoulder-to-wrist measurement, I add paper to the sleeve head pattern piece to match that number + seam allowances.
- The final piece of the sleeve was the loooooooong cuffs. I had measured the range of length we were considering, and chose the one that could make the most elegant “swoop” from the shoulder head. I cut out that paper too and taped it to the others.
- I drank a lot of wine. (Just kidding, I was super pregnant)
The next morning, I lay out the fabric and begin the arduous task of sewing these crazy sleeves together. I am not worried – all we have is this one one last push to the finish line, and then we’ll be done!
But man, I didn’t realize how true that statement would be…

