
I have this frustrating habit of thinking about my to-do list whilst showering. Mostly I end up remembering things, get frustrated because I can’t write them down, and then promptly forget.
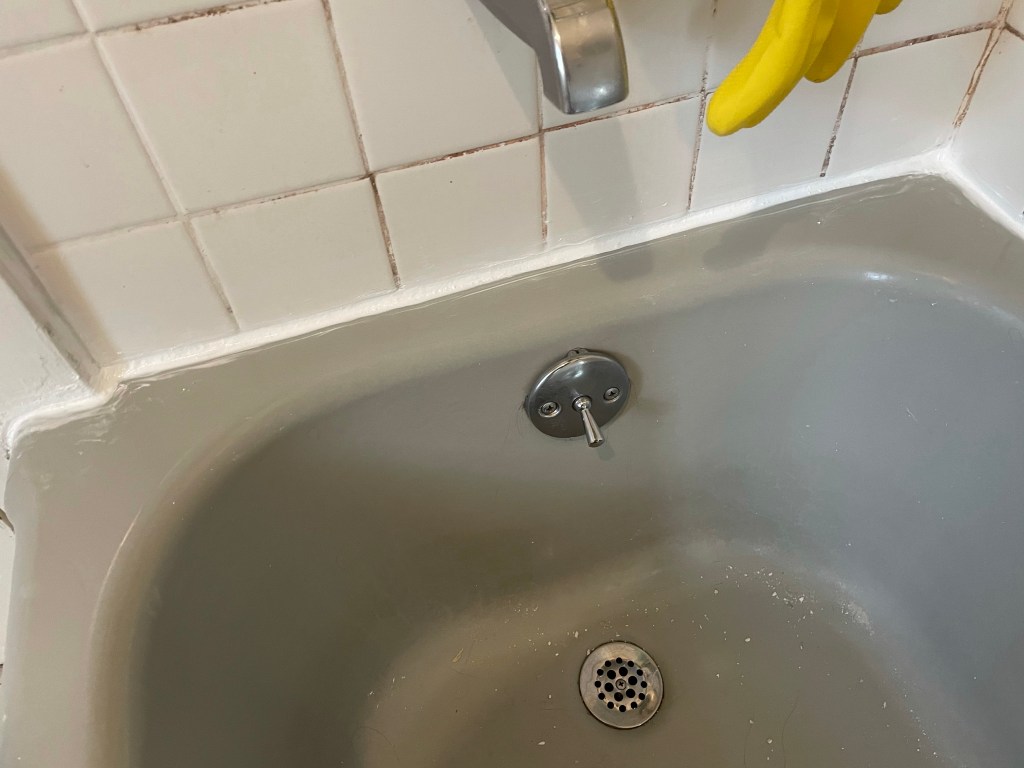
However, there was one item that quite literally stared me in the face every time I either bathed myself or my children: the mildewed, disintegrating caulk around my tub.
We have cleaned the tub-to-tile seam many times, but no household cleaning agent can keep up with the supervillain mash-up of cracking caulk and small children taking baths. The splits in the caulk and accompanying mildew were getting to the point that 1. I was getting grossed out and 2. I was starting to have anxiety about my house rotting from the inside out.
It was time I did something about it, gosh darn it.
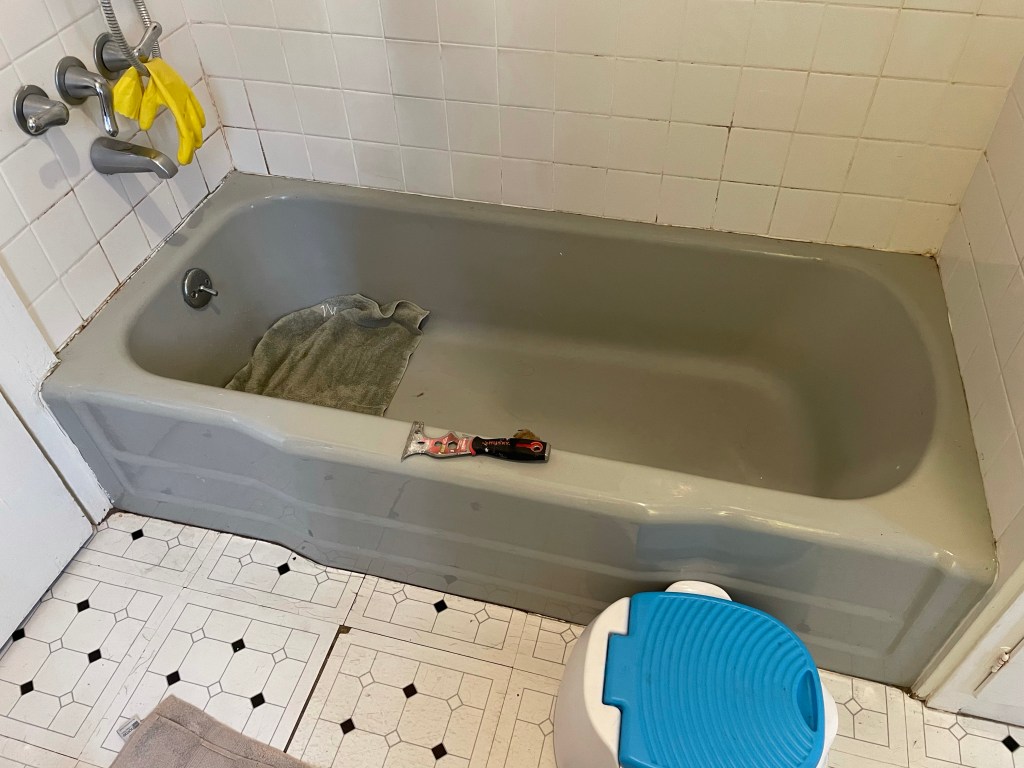
So I buy a tube of silicone caulk. Some weeks later, once this tube has been moved the requisite sixty times, I decide one Thursday that TODAY IS THE DAY. I get everything out of the tub, set up my towel and stool (so it’s a little kid’s potty, whatever, it works), grab my cool multi-stabby-scrape-y thing, and get to work.
I start on the faucet side where the mildew is grossest and it’s pretty easy going to peel the caulk away from the seam. I think to myself, “Awesome, this will be straightforward. I will be done by lunch!” Oh, Jacquelyn, you know better than to utter such a challenge to the DIY deities. No sooner had the words formed in my mind than I hit something …hard. It’s too shallow to be the wood framing. Um, is that grout under there??
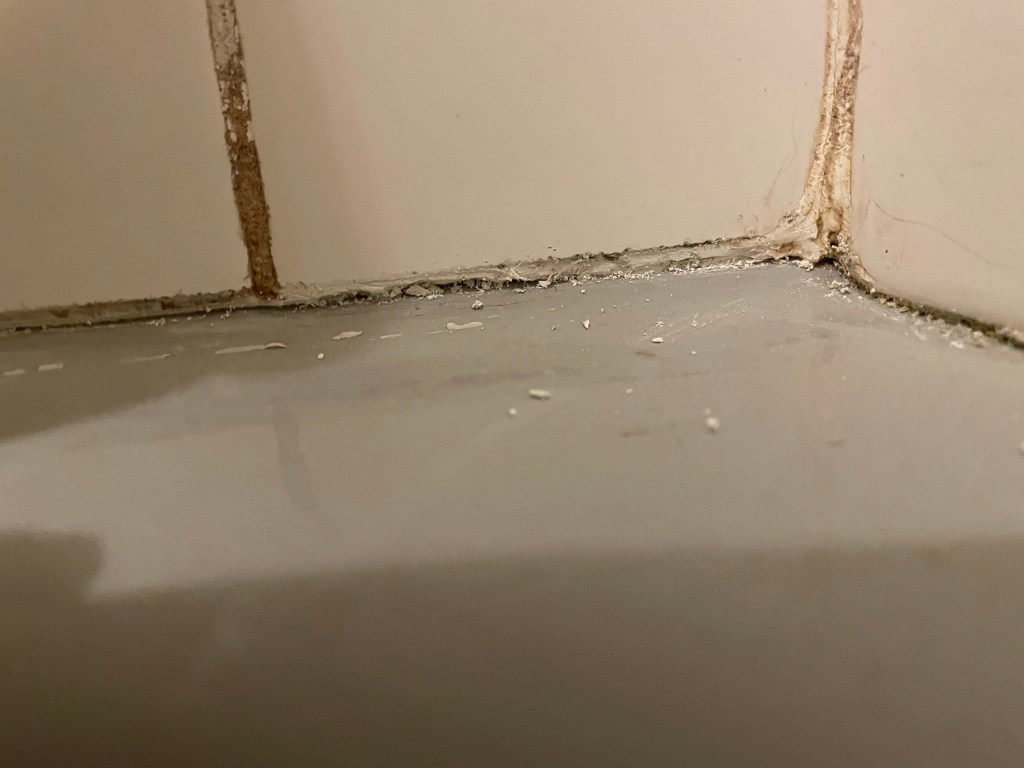
Ding ding ding, give me a prize! Why yes, there is grout under the caulk, and it goes completely around the entire tub! *sob*
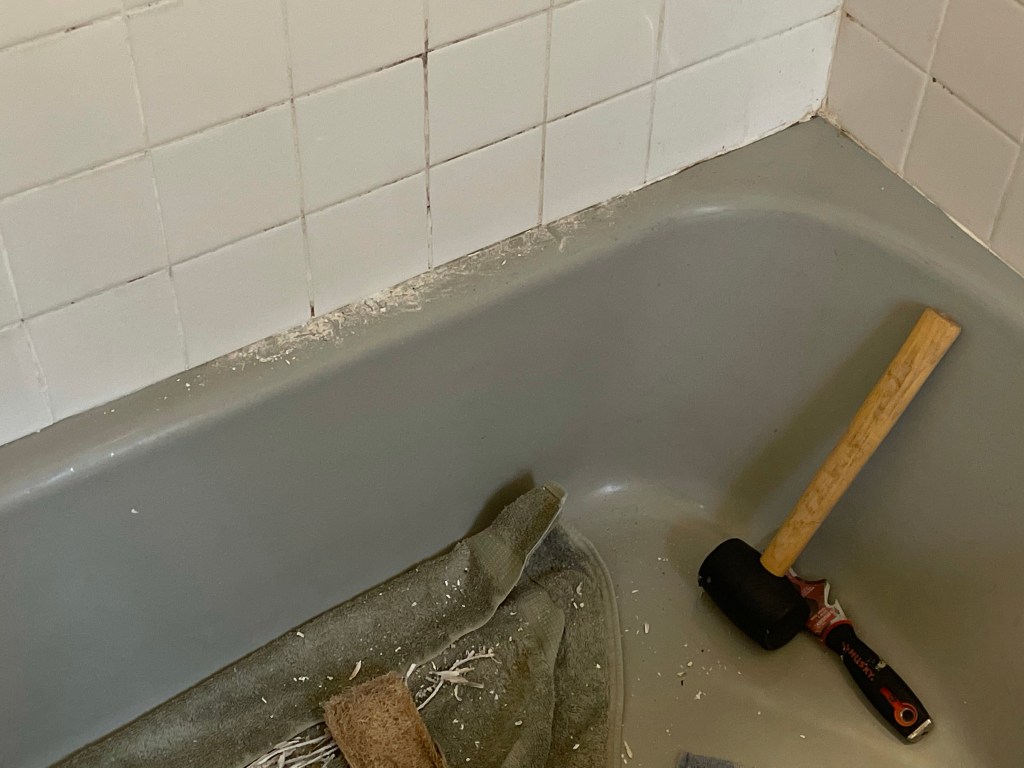
After having a little pity party for myself (it’s my party, I’ll cry if I want to), I go find my mallet and begin the slog of tapping out the grout. My scrape-y multitool puts dents in my mallet, so I tell my mallet sorry but needs must, and keep going. By the time I finally get around the entire tub rim, I’m ready to renounce bathing entirely.
It is now time for the new caulk! Given the NHL-style check to my ego in the first half of this project, I steel myself for the silicone caulk application to be a spectacular pain in my patootie. I was both correct and incorrect. Again, the tub lured me in with the initial ease of getting the bead into the groove. I felt my pride swell with my apparent competency, but we all know where this ends up.
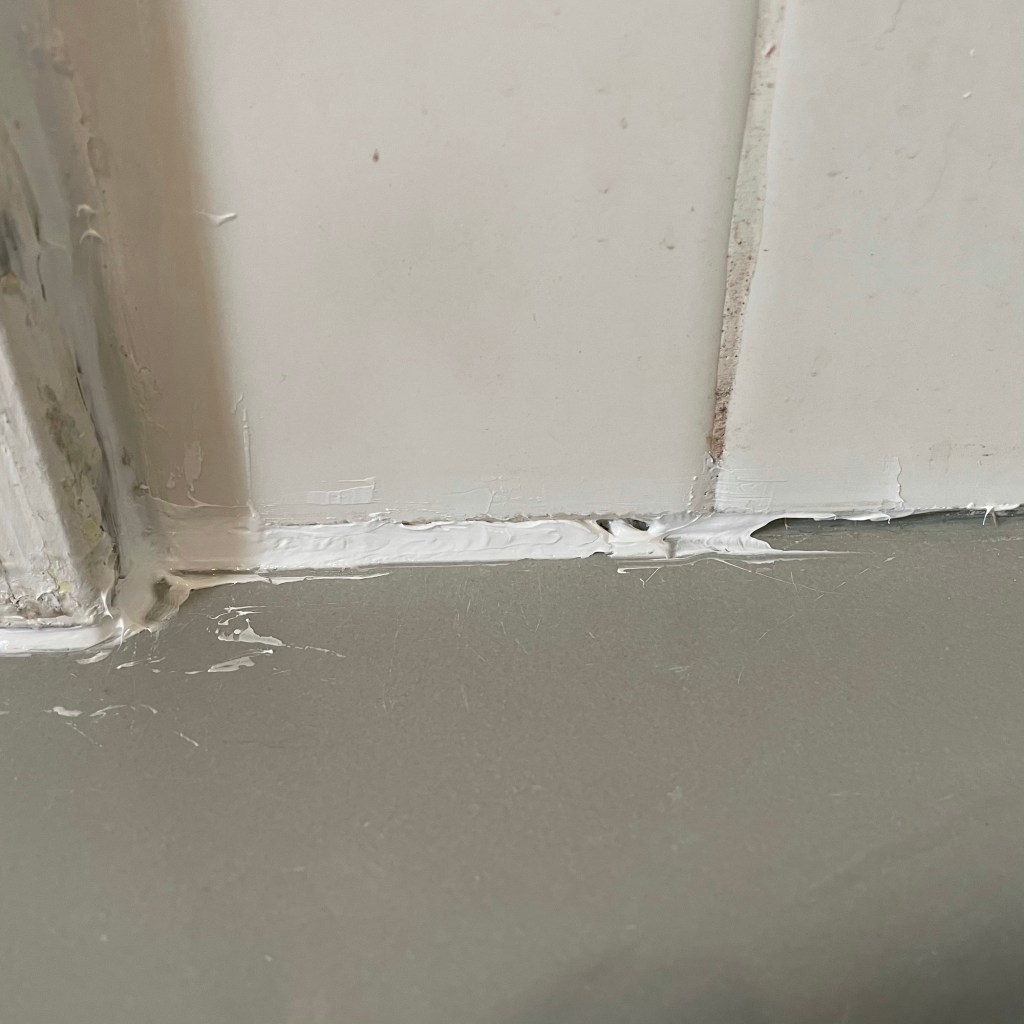
In this case, the inevitable frustration was a delayed reaction. I had completed nearly half of the rim when I noticed it: the caulk had shrunk. A LOT. I expected some shrinkage of course (heehee. Sorry, inner 12 year old), but this rivaled some of the shrinky-dinks I’ve made. It looked like some kind of creature was living behind my shower wall trying to steal the caulk with a Hoover.
It took another more aggressive application (read: absurdly large bead) to finally get the gaps filled in. By this time, my patience and perfectionism had waned considerably, so my neatening up of the edges was… less than stellar. However, I am proud to say: no water is now getting through that seal. And when I’m showering or bathing my children, I no longer am plagued by fear of the joists rotting away around me. Instead, I just stare at that god-awful mildewed grout and think: I wonder if there’s an industrial chemical I can use to get that out and how long will my family have to wait to enter the house after I use it?

Maybe you could try some grout paint
LikeLike