
For the first installment of this story, please see The Chicken Bag: Inception.
To say that I was annoyed by being sick is an understatement worthy of a British comedian. I’m sure I was a dream patient for my partner (/sarcasm; sorry, babe) as I was relegated to bedrest and boredom until my immune system could kick out the viral interlopers. After a brief sojourn to get the requisite COVID-19 test (negative!), all there was to do was wait, surrounded by a perimeter of tissues and cats. At least there were cats, I suppose.

It takes FOUR DAYS before I can get out of bed and start working on The Chicken Bag without waves of nausea, but I am ready. Sure, I can stand for only about 10 minutes at a time before I have to rest, but cutting out pattern pieces can be done while seated! Win-win.
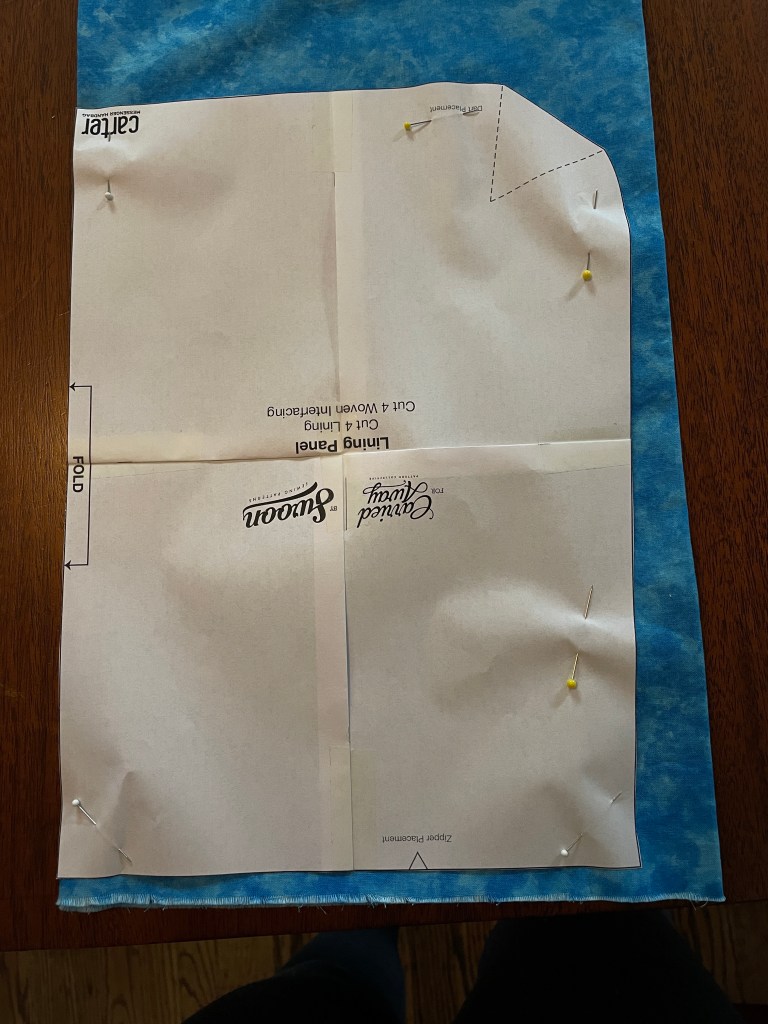
Since I am really excited to get all of the pattern pieces cut and marked, I am all ready to start the next steps when I realized there are a bunch that don’t have a pattern. You just have to measure them out. Deflated but determined, I check my notes obsessively to make sure I have the measurements correct while cutting these pieces, and yet I still cut waaaaaay too much of one size. Oops.
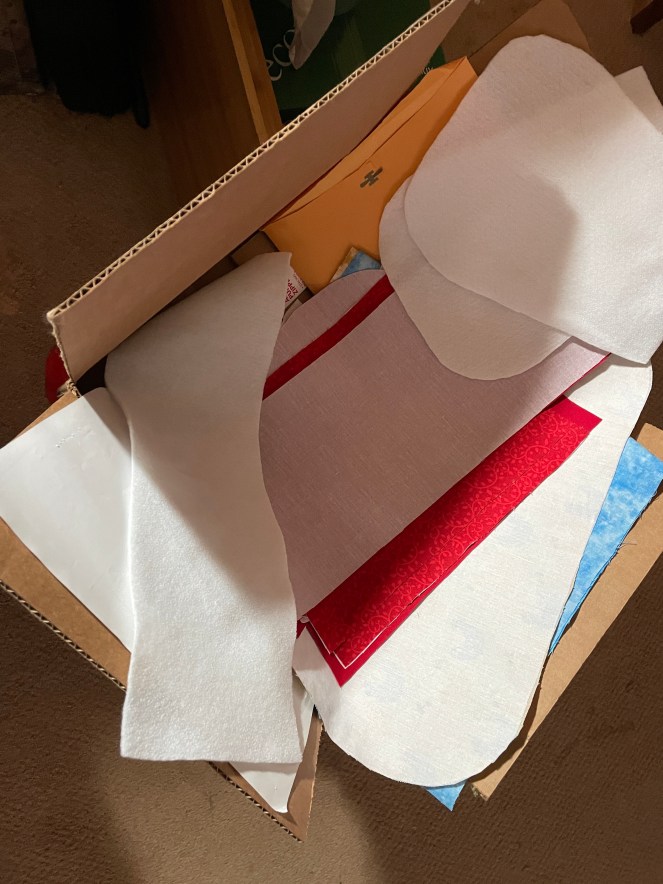
Next step was to iron on all of the interfacing – all pieces require woven interfacing, and a few need fleece interfacing as well. With the only error attaching interfacing to the wrong flap piece (the inside one, in case you were wondering), I feel like I got away with something. I’m not sure if this is true and the sewing gods later retaliated for my hubris, or if they planned on it all along. They are sneaky, those sewing gods.
Oh man oh man, I was finally ready to start sewing! First order of business: the bag’s handle. Canvas AND hardware? Yes please! Oh, and how can I pass up the opportunity to use sewing clips?
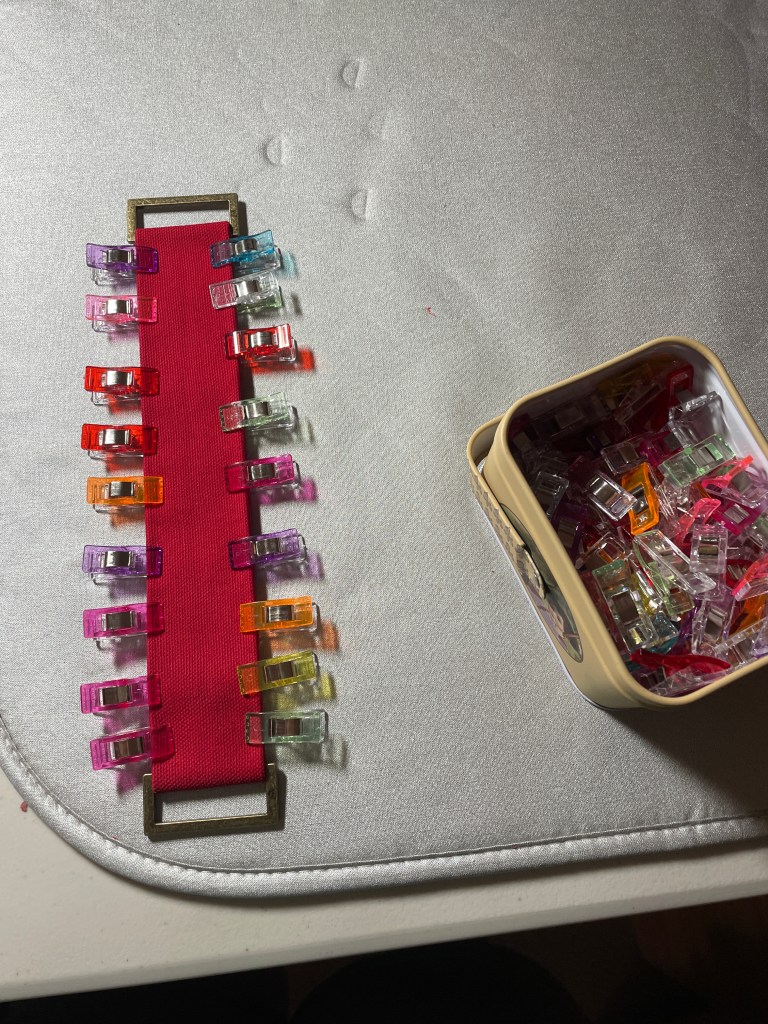
The handle goes well enough. My beefcake Husqvarna sewing machine doesn’t blink at going through four layers of interfaced canvas, but navigating the sewing foot around the hardware took more finesse on my part. With the lines …mostly… straight, I move on to the next step: attaching the handle to the cover straps and riveting the whole kit to the top of the flap.
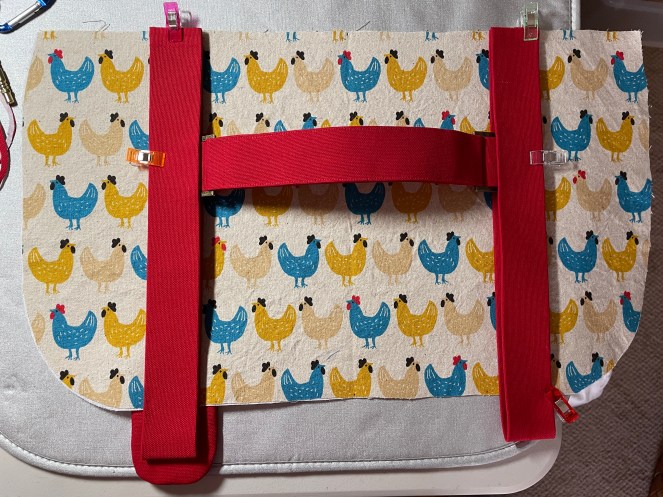
This is where my customization to the pattern gives me pause. The original pattern has straps that go down and tuck into little holders, in addition to using clasps or snaps. Knowing myself, I will tuck in the straps all of twice and never do it again. Plus, those little holders look like a grade-A-PITA to stitch, sooooo I think I’ll just keep the cover straps short. I lay out a couple of length/width options, and settle on this one:
I stitch the handle to the straps and then set about getting the screw-back rivets installed. These rivets are the *only things* holding the strap (and therefore the handle) to the bag, so they need to be very secure. To be secure, the holes need to be the correct size; read: not too big. And this is where having two half-hides of leather in one’s attic comes in handy – when one has that much leather, you invest in TOOLS. In this case, a leather punch.
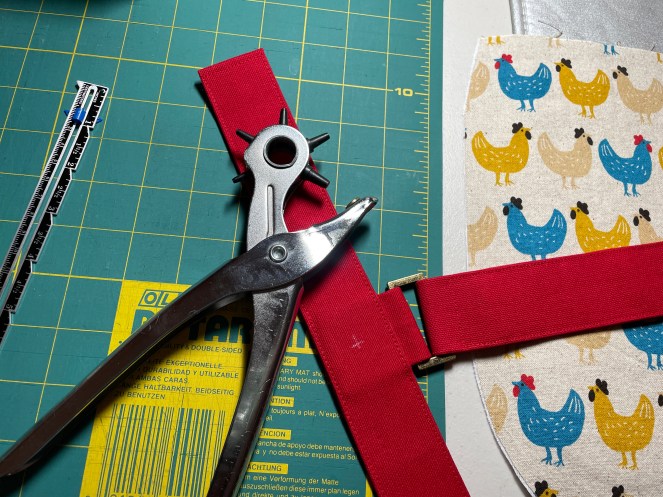
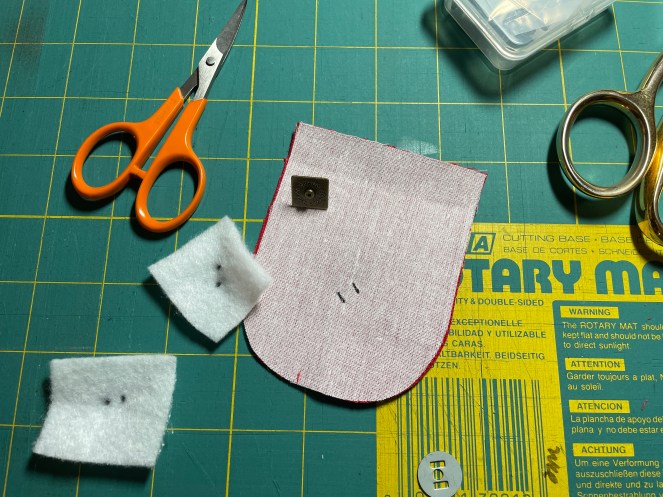
Also helpful? Tailor’s pencils. I use them to mark the correct location and then punch, with delightfully satisfying ka-clunks, the holes for my rivets. I insert the rivets and… UGH. The stems are too long! This will NOT do. As I am impatient and waiting even longer for replacement rivets to arrive was just not going to happen, I improvise. Multiple scraps of fleece interfacing to the rescue!

Rivets installed, it’s time to make the magnetic clasp tabs. Because I like to make things harder for myself am creative, I decide to make these square snaps not be squares but diamonds, so that means fussy placement of holes. Lots of measuring and marking and re-marking later, I finally get the male half of the clasps installed.
I sew those tabbies up and then clip alllllll the pieces together. A couple quick trips between the sewing machine and ironing mat, et voila: top flap for a bag!
Now, only the other 80% of the bag to go.
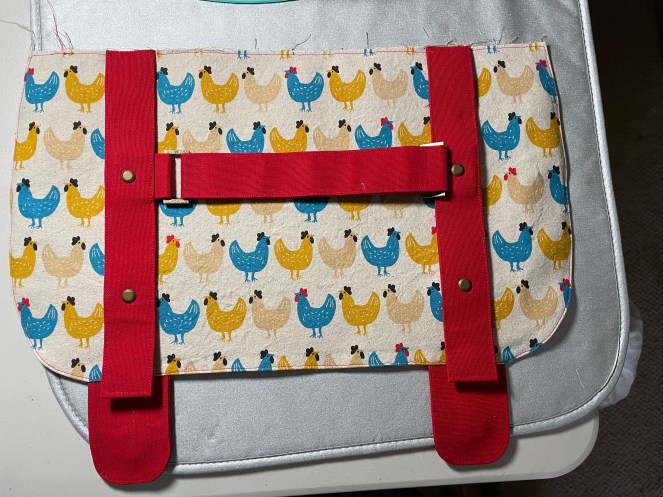

This is AMAZING! I love the red strap with the fabric, as it picks out the “gobbler” (my completely made-up name for the thingie on tops of chickens’ heads) color / motif. I’m very impressed by the tools you have acquired, and I’m a proud, fellow Husqvarna owner!! Sigh… i’ll break it out one of these days again, I swear.
LikeLiked by 1 person
OMG chicken bag! I love it.
LikeLike