To read this series from the beginning, please go to The Chicken Bag: Inception.
With the flap complete, I can now begin assembly of the bag part of the bag. Well, sorta. A few attachments are required to various panels before they can combine their powers to become The Chicken Bag.
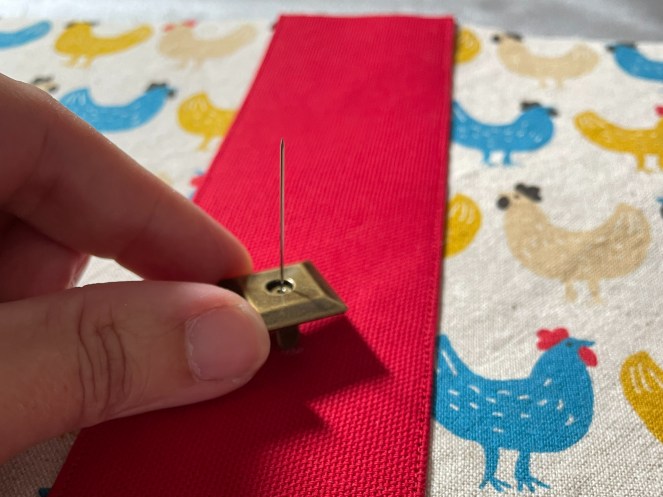
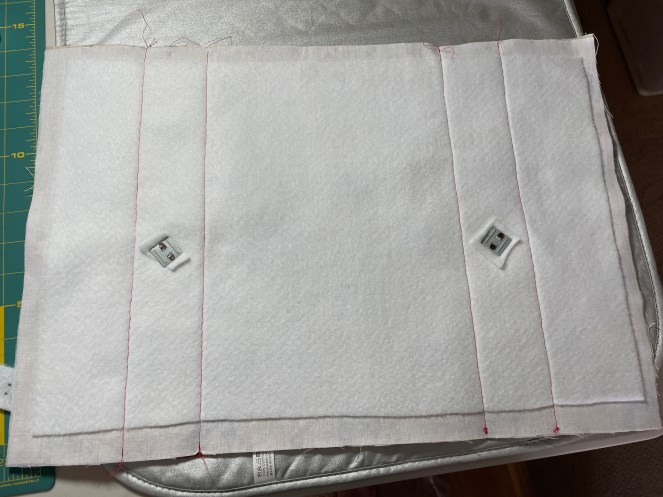
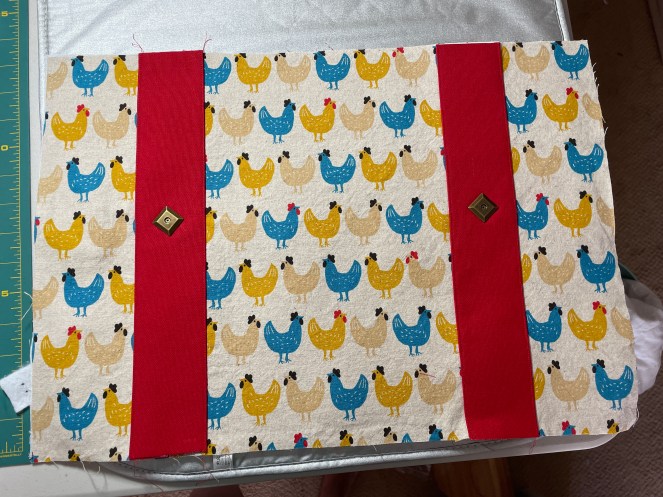
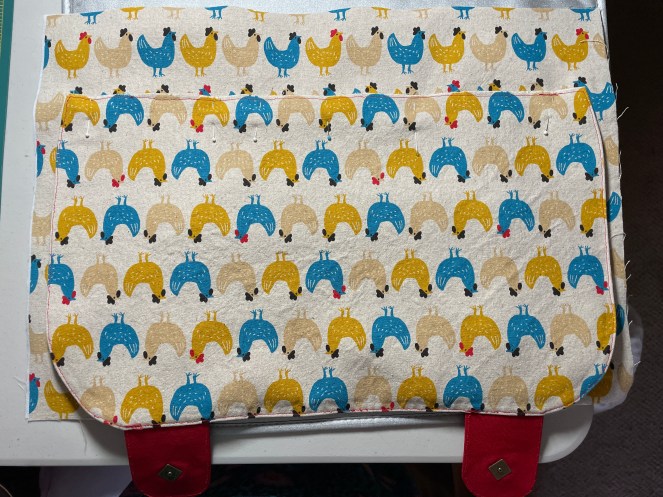
First, the canvas straps and the remaining halves of the magnetic clasps need to be installed on the front bag panel. Given I am now a professional* with two excellently* installed clasps under my belt, plus nifty holes in the middle for a pin to hold them in place, this is a cinch. On the back, I add in handy-dandy scraps from a mis-applied fleece interfacing to make everything nice and snug.
*may be exaggeration
Next up: attaching the sweet, sweet flap to the back panel. I use the template line on the pattern piece instead of measuring; both because 1. it’s easier, and 2. it’s so much easier. I quadruple check to make sure right sides are together, all parts to be sewn are in the seam, and all parts to remain free are out of the way. Phew!
With the front and back panels addressed, it’s now time for the shoulder strap connectors on the side panels. I’m so close to assembling this bag, I can taste it.
When I check my handwritten amendment to the pattern, my notes tell me to make the connectors 3” by 3”. Upon folding them as instructed, the connectors came out a bit… small. I look at my notes again; apparently Past Me had increased all width measurements by 50% but had decided that length should stay the same. Oops.
Thankfully, I had overcut red canvas in, you guessed it, 3” width, so cutting new pieces was super easy. So Past Me didn’t flub on the cuts, she was just being prepared.
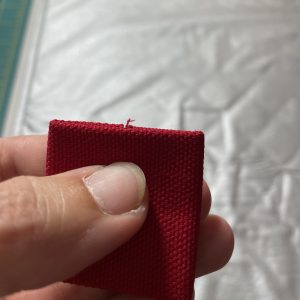
Another thing I notice with my “practice run” strap connectors is when folded per the instructions, a tiny bit of raw edge peeks out. I will put up with a lot of shortcuts and jury-rigged situations, but this tiny piece of thread sticking out? Oh no, UNACCEPTABLE. Thankfully, all it takes is a little tapered fold at each end to tuck those pesky raw edges under the outer edge and boom-bam, we have a neat strap connector. Also, sewing clips are just the best, in case you didn’t already know.
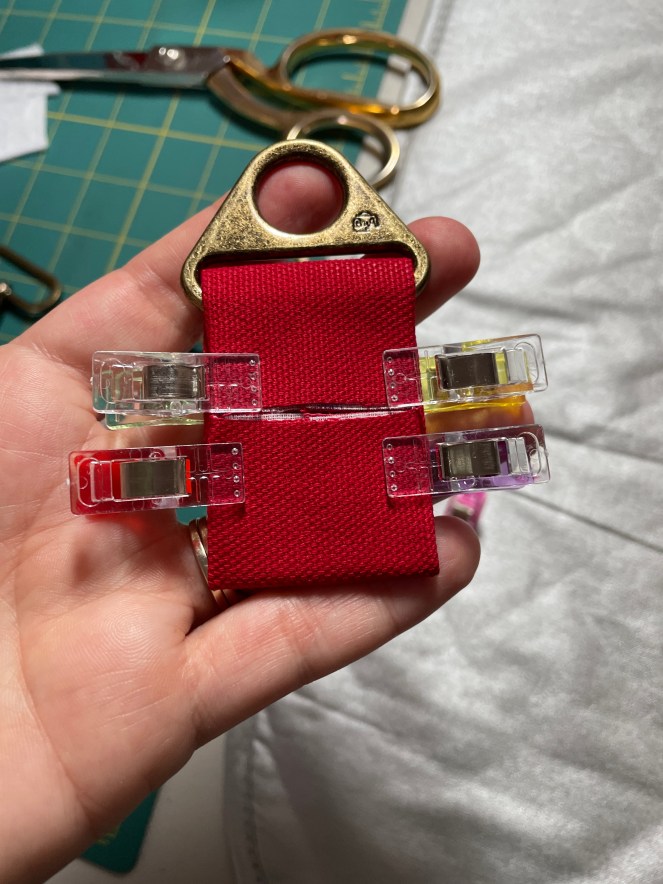
With all that knowledge now safely cached in the little grey cells, I cut out the correctly sized strap connectors and assemble them with their smart bronze triangle hardware. They look great! I’m ready to sew them onto the center of the side panels of the bag… but how to hold them in place? I can’t use the clips, no pin is going to hold 11 layers of canvas and interfacing in place!
…I will need to use glue.
I apologize, dear reader, but I must admit to a shortcoming of mine: when it comes to glue, I am rather a snob. For most of my sewing existence, I thought it a shortcut, a cheat, something that can and should always be avoided. And yet in this circumstance, I could see no other way forward that didn’t involve seam rippers, a lot of swearing, and even more tears. I would have to challenge to my long-held bias against glue.
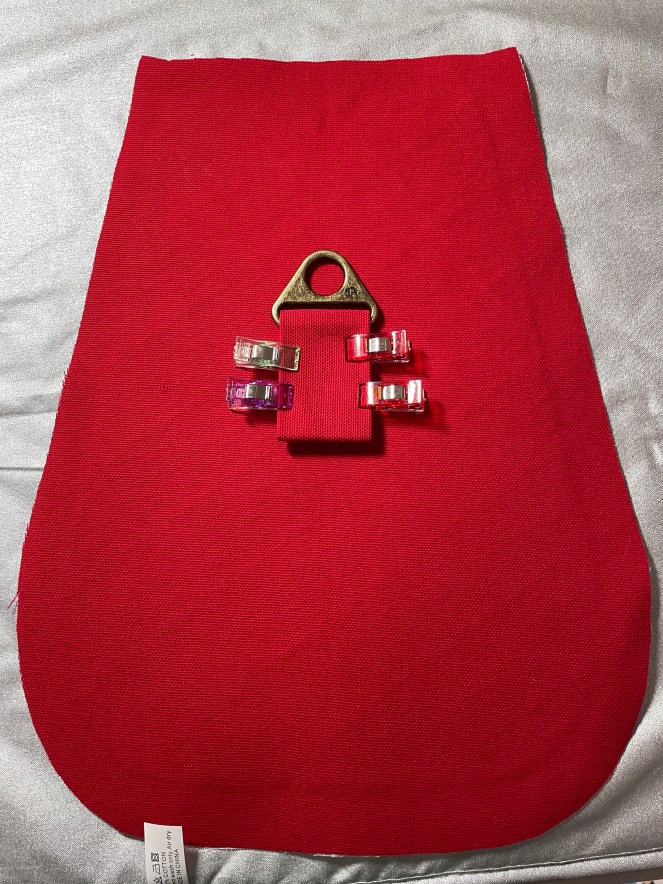
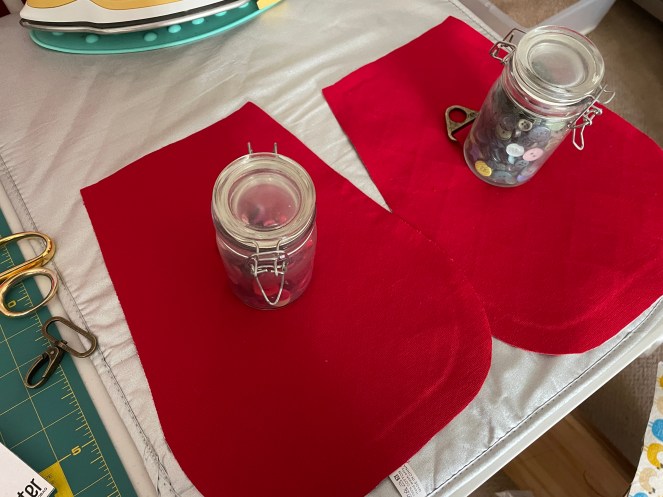
I use a permanent fabric glue (yes I have some, I don’t know why, kismet?) and weigh the strap connectors down with the largest of my buttons-in-jars collection. Since the glue needs some time to do its thing, I turn to the next step in bag-assembly: attaching the front, bottom, and back panels to each other whilst keeping everything in the correct orientation and again, all flaps, straps, etc. out of the seams.
Once I am done with the straight seams, the glue is dry and ready to go. I stitch the connectors to their side panels, and because most reviews of this pattern mention this connection is a common place for structural integrity failure, I add a couple rivets for good measure. Overkill? Most likely, but at least it looks cool.
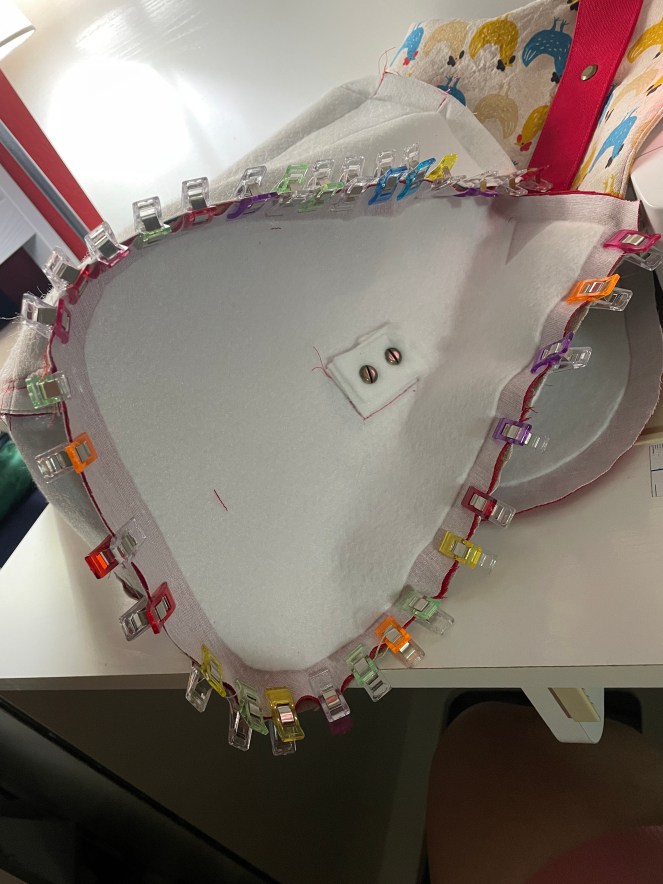
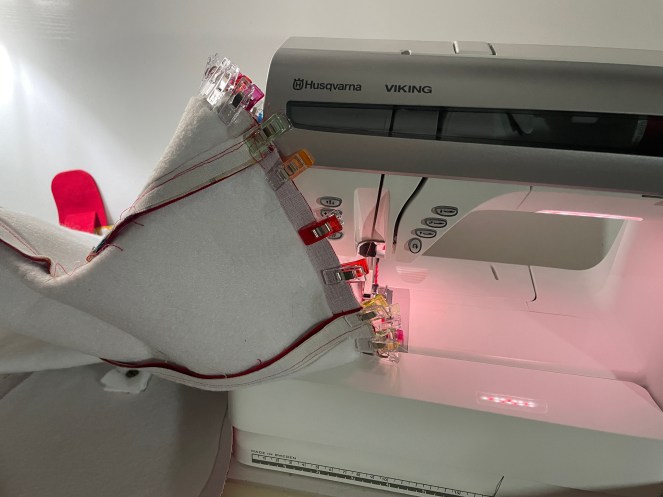
The moment has arrived: it is time to take these various pieces from 2D to 3D! I clip each side panel to the bag within an inch of its life and then proceed to sew very slowly and carefully around the edges. Sounds tedious? You bet your tushy. I was very relieved when it was done, to say the least.
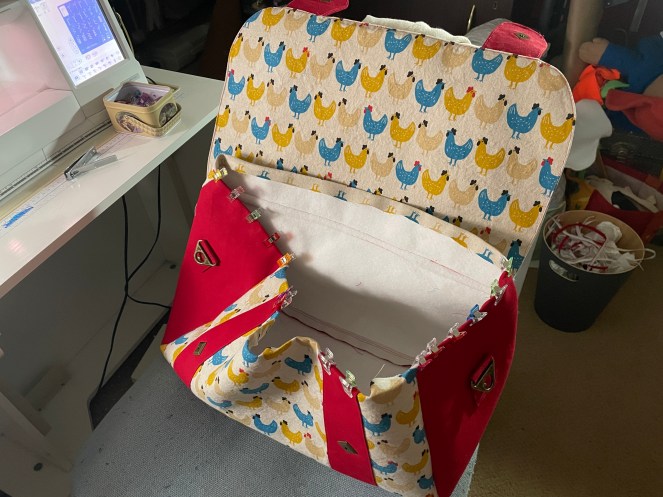
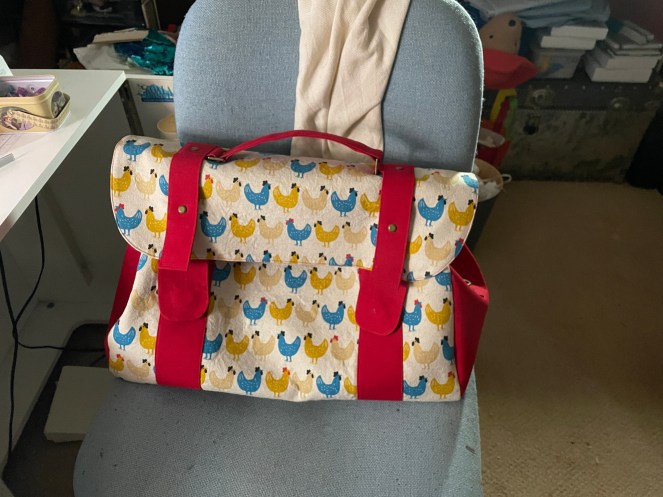
A few quick presses from the iron plus some manual manipulation to the seams, and tada: I have an actual BAG!
At least the outside of one. Now it’s time to do the lining, pocket, and finishing touches, because I’d really like to be done now. I’m sure you would like to know how it all ends, too!