
For the first installment, please see Getting Shady, Part I.
We have a naked frame, now what? It actually takes me some time to try the next step because it felt so… daunting. Destruction is fun and relatively straightforward. Assembly is also fun, but rarely straightforward.
Based on my photos, it appears the lining material is put on the frame first. Of the four sides, the widest sides were the last layer I removed and therefore the first of all of the panels to be sewn to the frame. Given that these sections are not square, I do things the old-fashioned way: tracing.
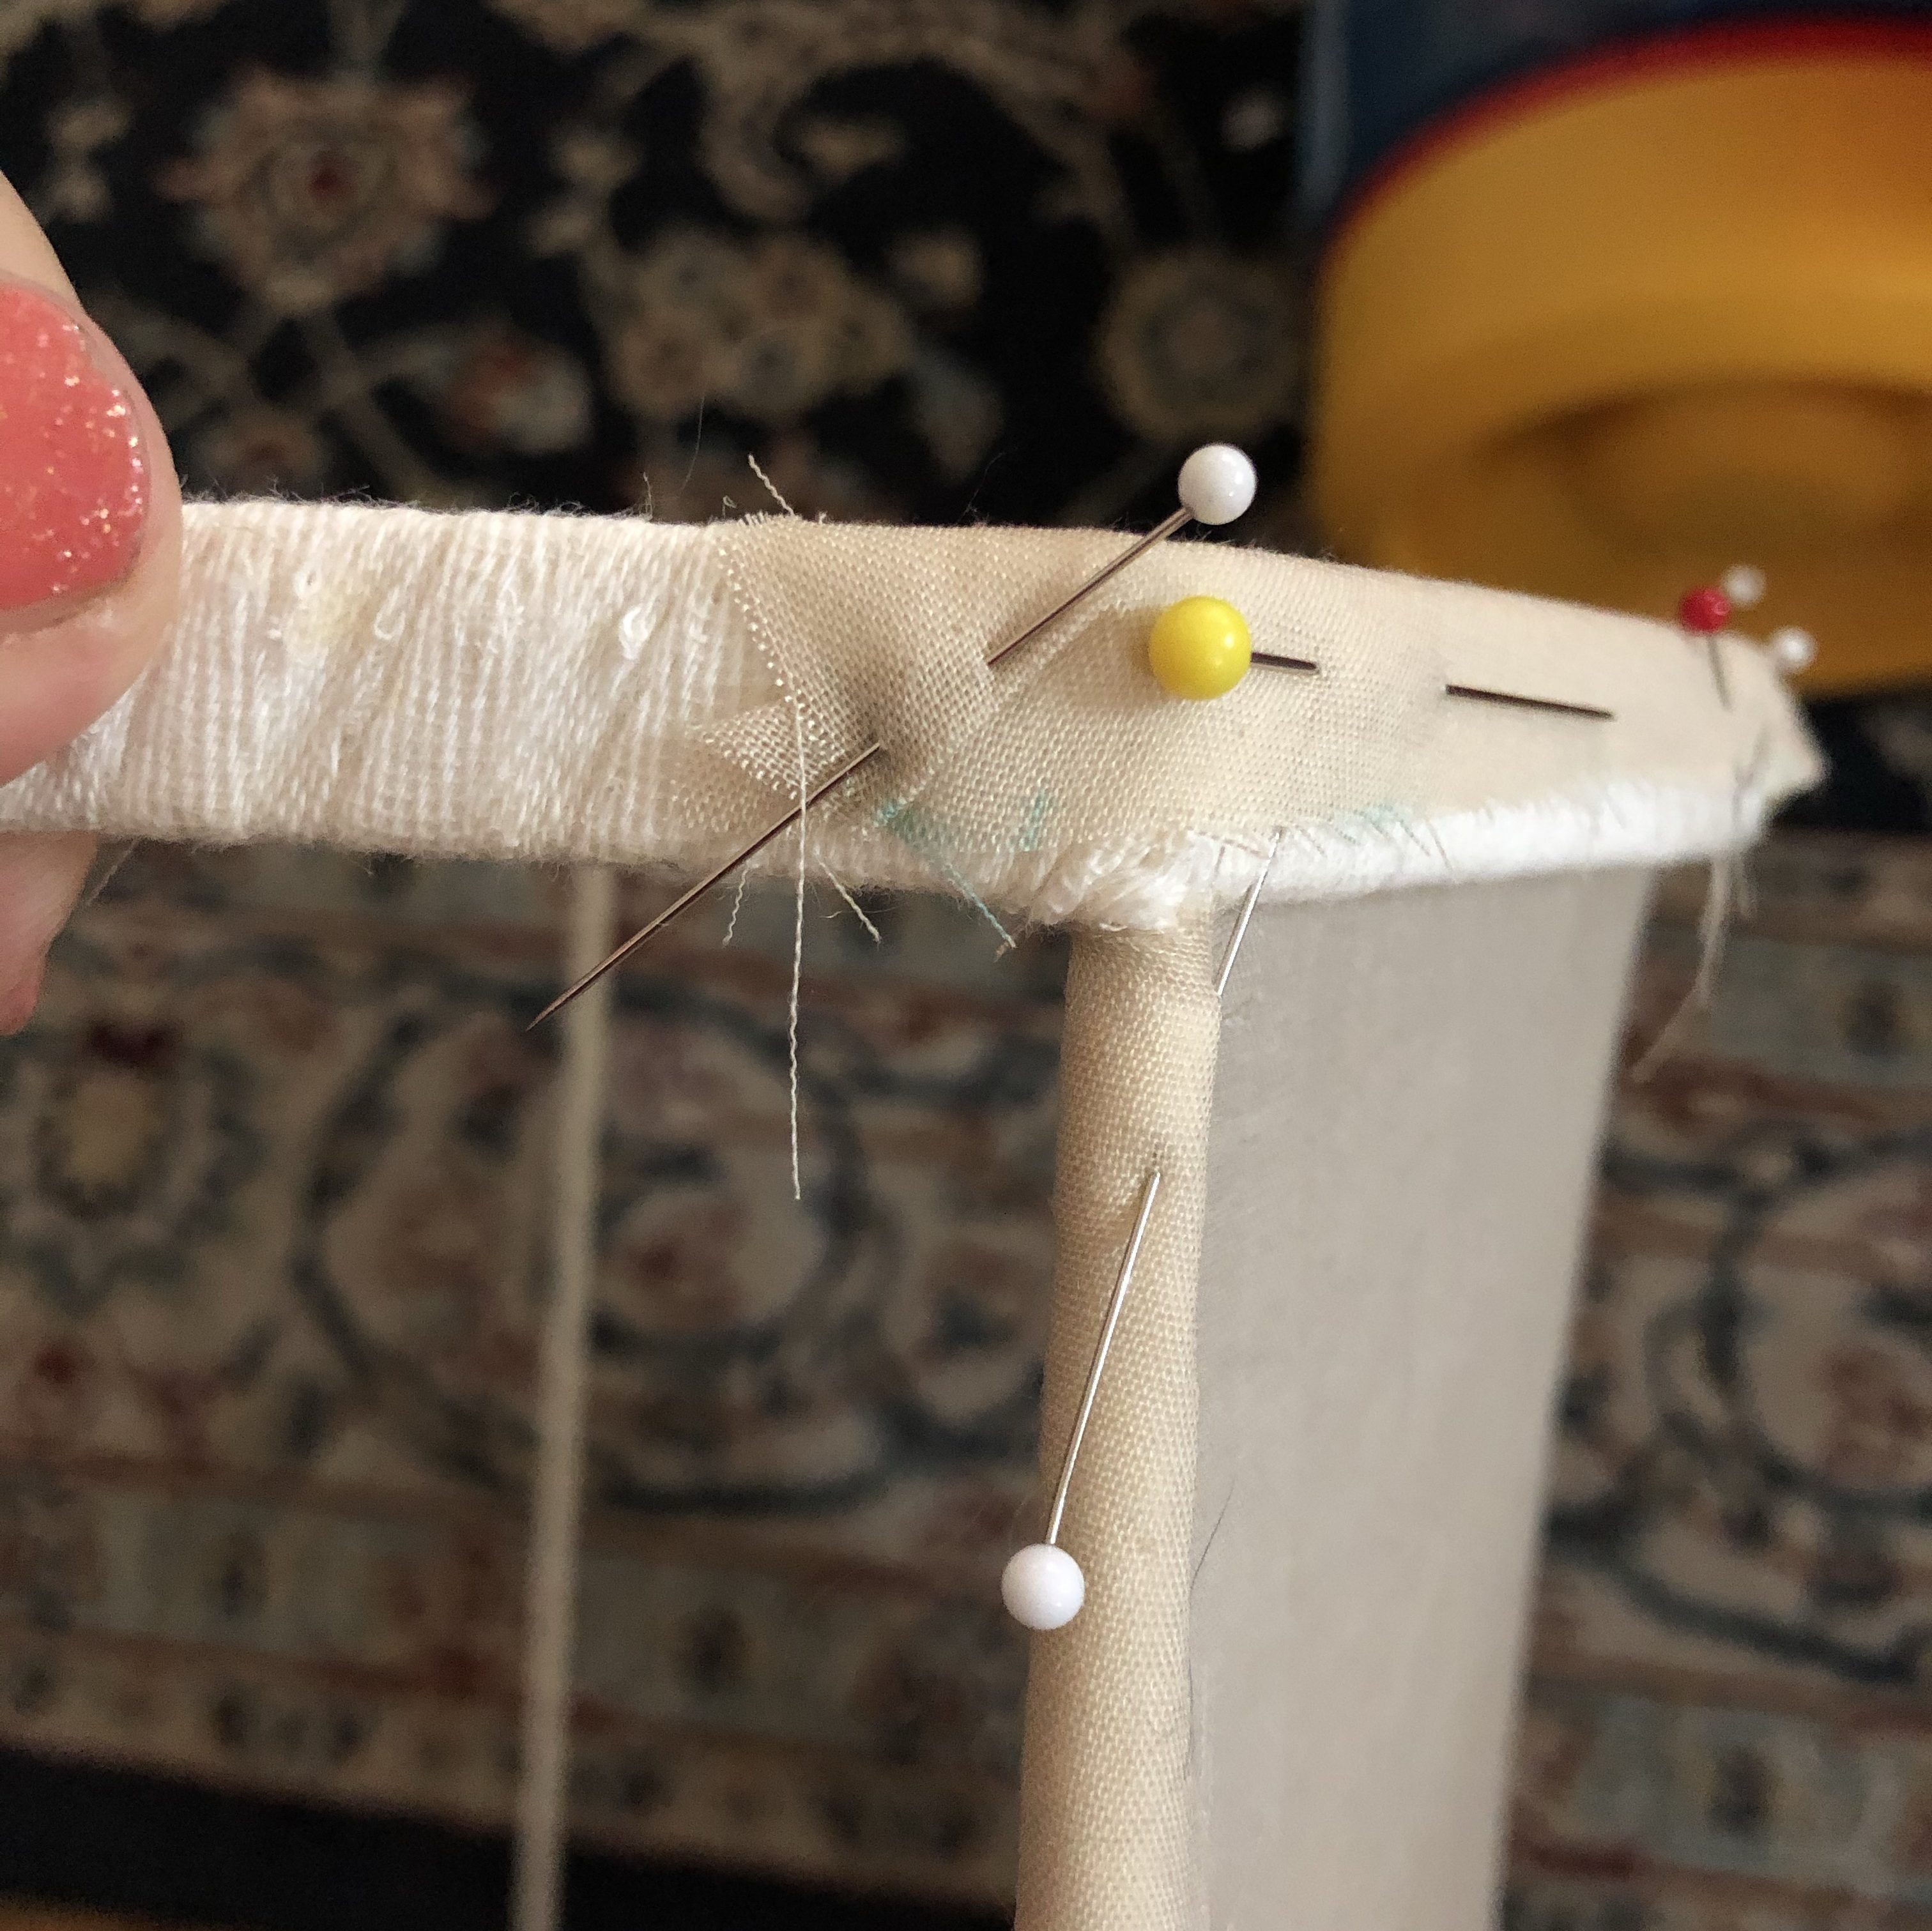
I quite literally lay out the lining fabric and trace all around the edges, about a half inch from the edge of the frame. I cut this out (with shears, not a rotary cutter, since these edges will be hidden, shhhhhh) and do a quick ‘n’ dirty pin to the frame to make sure the piece didn’t change shape on me in the last 20 seconds. This has happened, I’m not just being paranoid, promise!
It matches, much to my relief. Since this is the lining, the panel has to go *over* the bottom and top edge (so glad I gave myself that extra half inch! You’re a gem, Past Self!). I pin the top edge on the outside of the frame and whip stitch it in place. Pulling the panel gently taut, I do the same to the bottom edge.

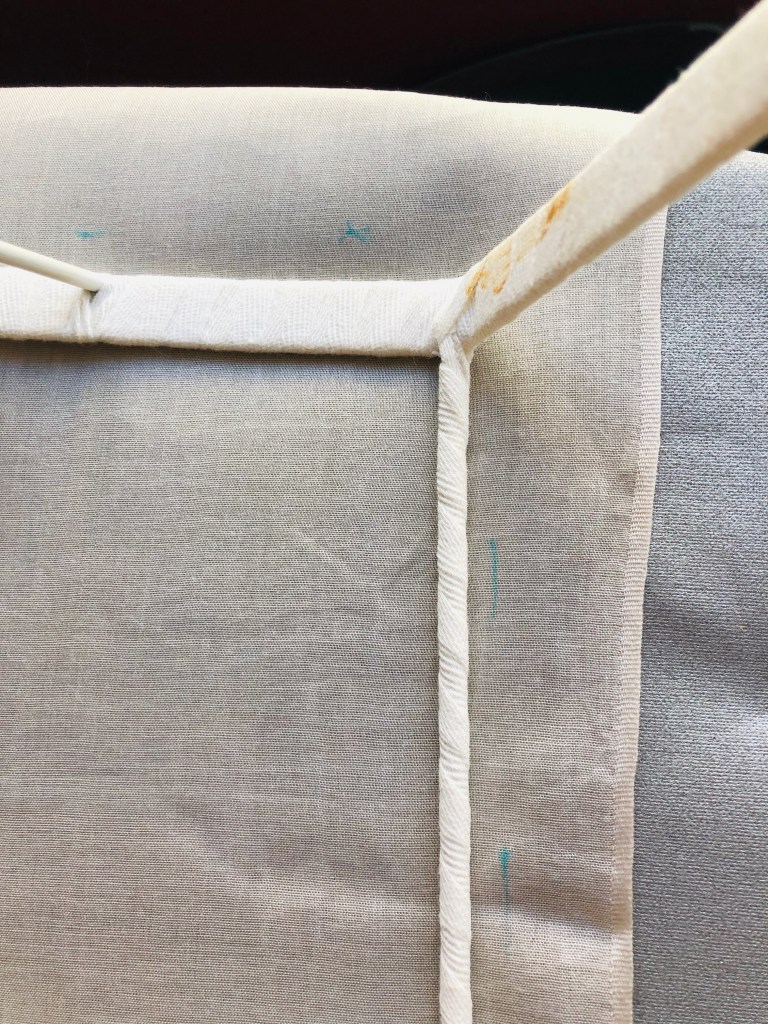
The sides are a bit more tricky – I need to negotiate the corners of the frame without showing raw edges. Again, referencing my photos (I tell you, take more than you think you need. Yes, I still wish I had more than my 4730934 photos) I note the folds in the corners and do my best to replicate them. This involves making a cut in the panel and carefully folding raw edges in while simultaneously pulling the fabric in about three directions. Never have I wished for two more thumbs more than in this moment, but alas pins will have to suffice.
Phew! Okay, with the corners set and ready, I whip stitch the panel to the cotton tapes wrapped around the weeeeeee narrow upright bars. It’s not prettiest, but since I’m going to be sewing over this at least three more times before the project is done, I’m not too worried about it.
With the two widest panels finished, I turn to the side panels. These are square, but I still use the tracing trick – it worked great last time! But as soon as I get them cut out, I realize: how am I supposed to make this work?? I have to fold the top and bottom over the frame edges, but there isn’t a way to wrap them around the upright bars the same way as the wide panels …said wide panels are in the way. Which means the side panels need to sit on top of the wide panels… which makes the corners even more complicated, having to go both directions at once…
Thoroughly confused? Yeah, me too.
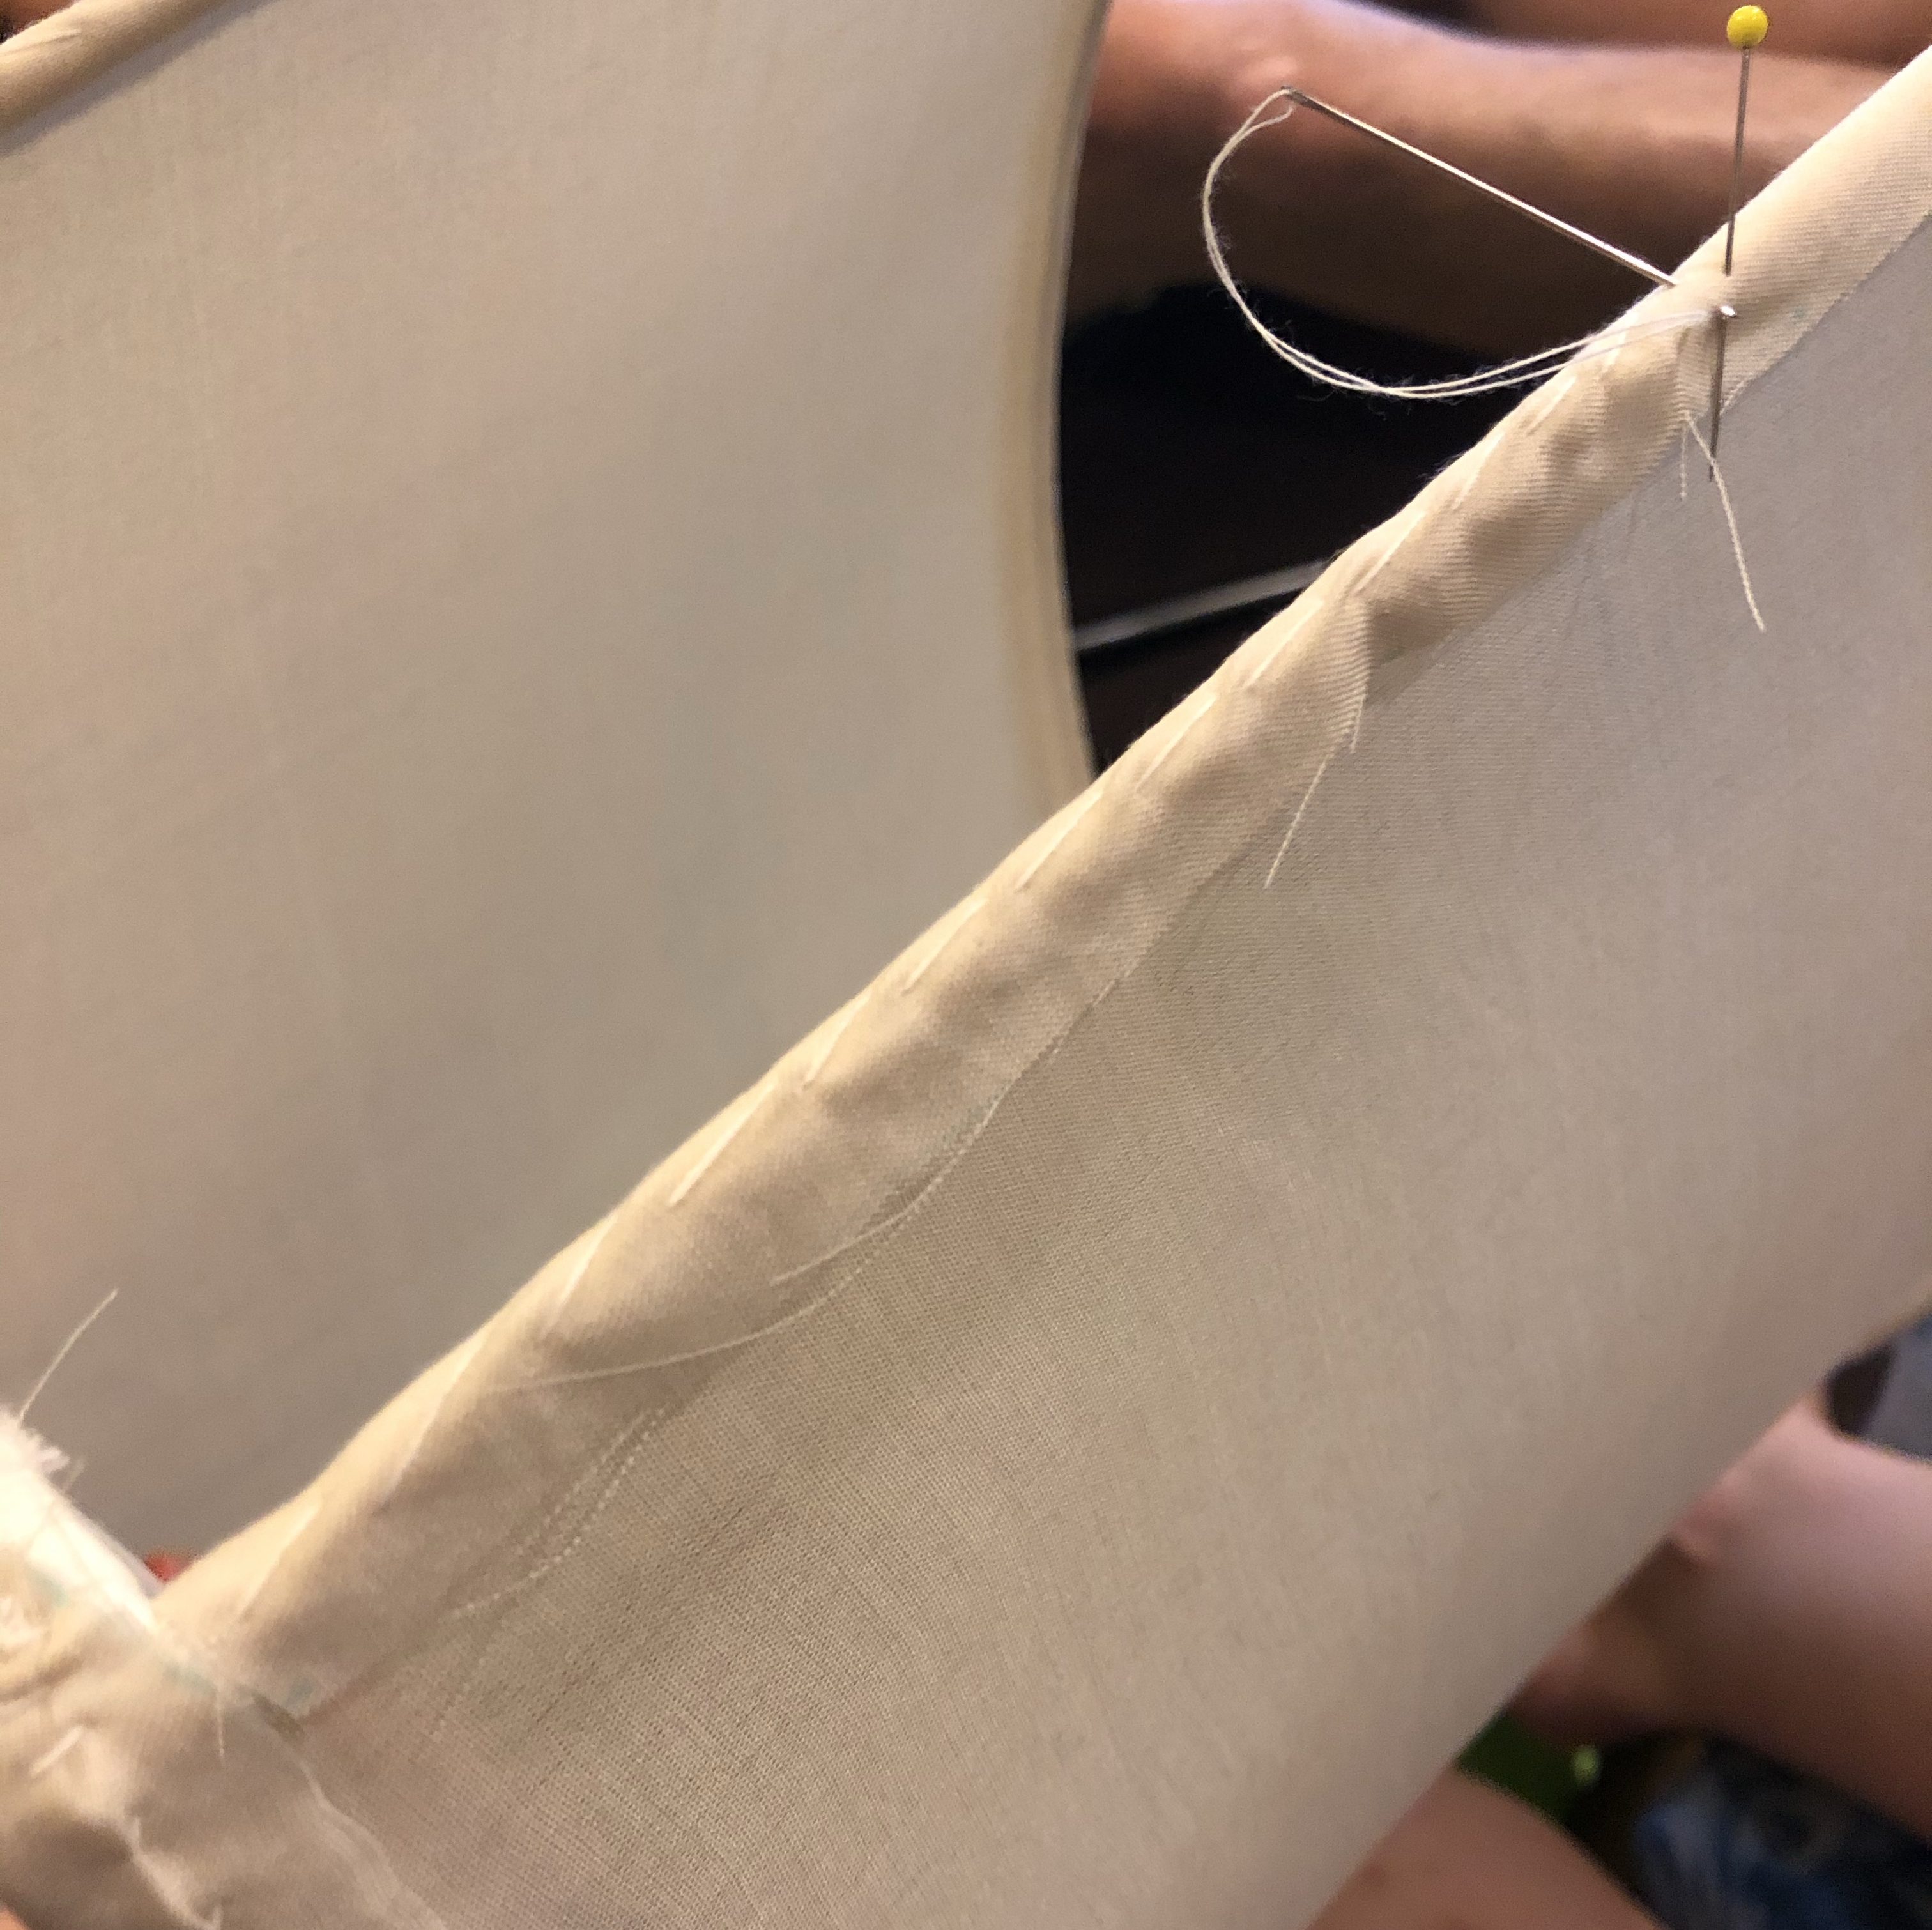
After much pulling of hair and gnashing of teeth, I sit back down and glare at the corner. And then it hits me – it’s a three-dimensional puzzle! I make a cut in the panel and after some fiddling, figure out how I need to set up the corner to be both outside and inside at the same time, like some kind Schroedinger lampshade thought experiment. I even took a picture so I wouldn’t forget for the other 15 corners left to do.
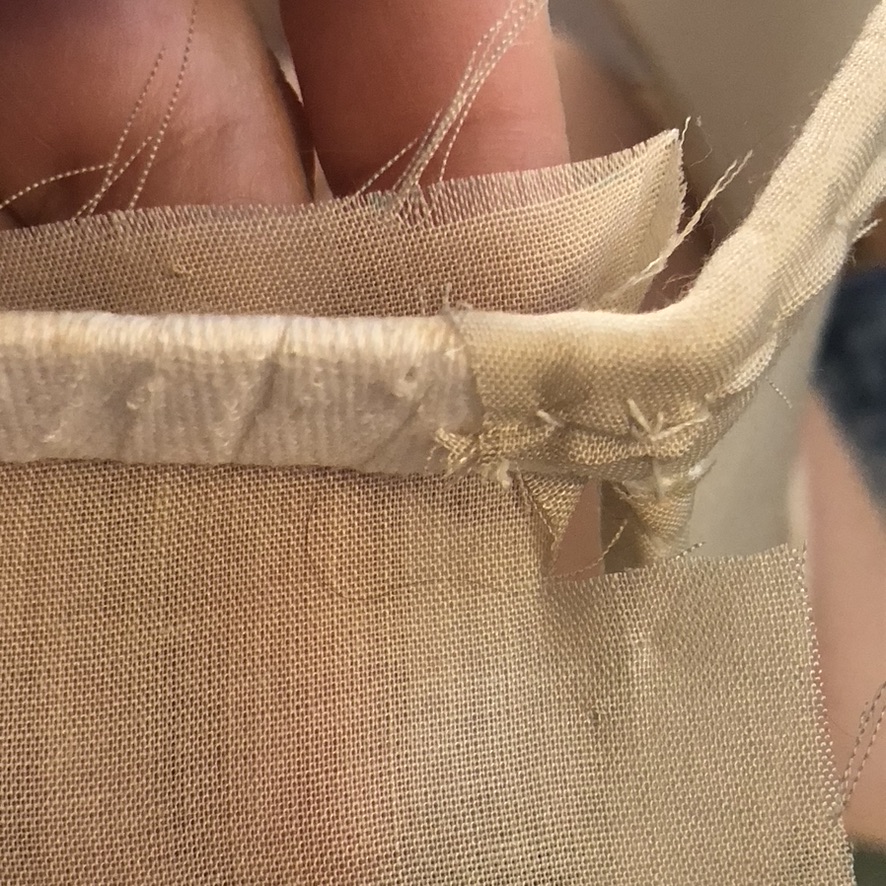
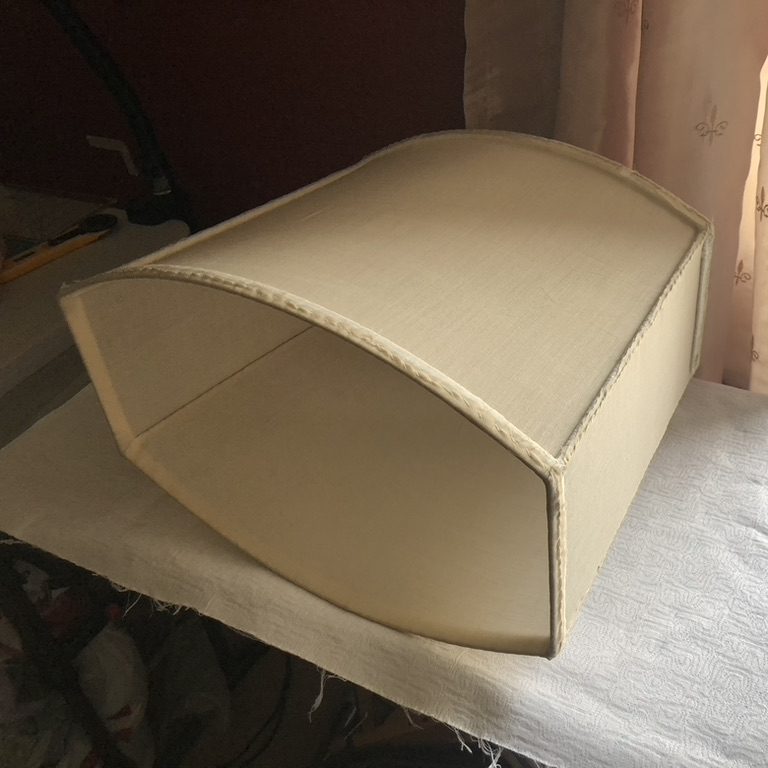
After that, it’s quick going. These panels set up the same as the wide ones: whip stitched on the top, pinned taut and whip stitched on the bottom, then the sides. Once all lining pieces are safely sewn in place, I very VERY carefully trim the excess.
Et voila! A lampshade in its undies!

that looks astounding!!! your description, instructions, and past self stories are all very entertaining to read.
LikeLiked by 1 person